
This DIY photography hack can greatly enrich your product photography!
There are many pre-made lightboxes available on the market, ranging in price from thirty dollars to one hundred:
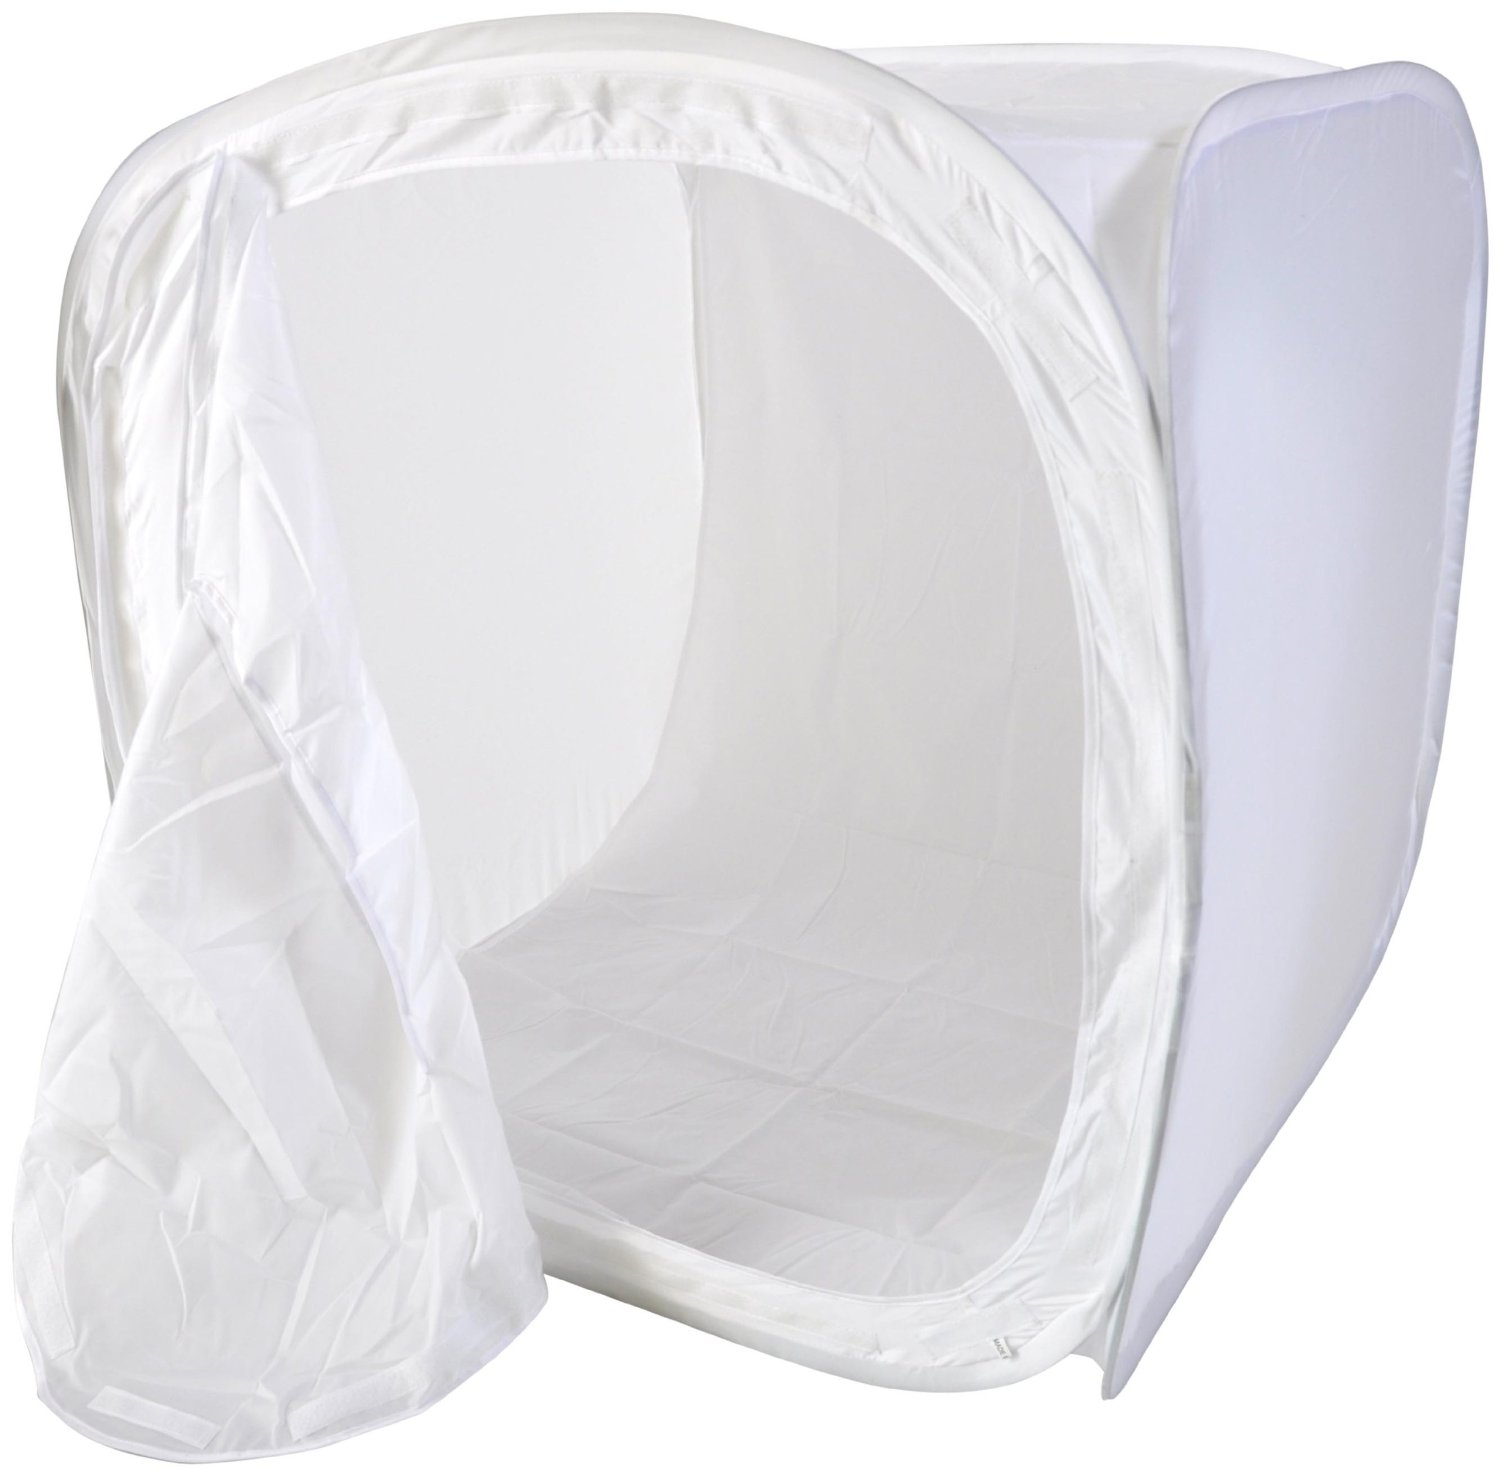
CowboyStudio 30-Inch Photo Soft Box Light
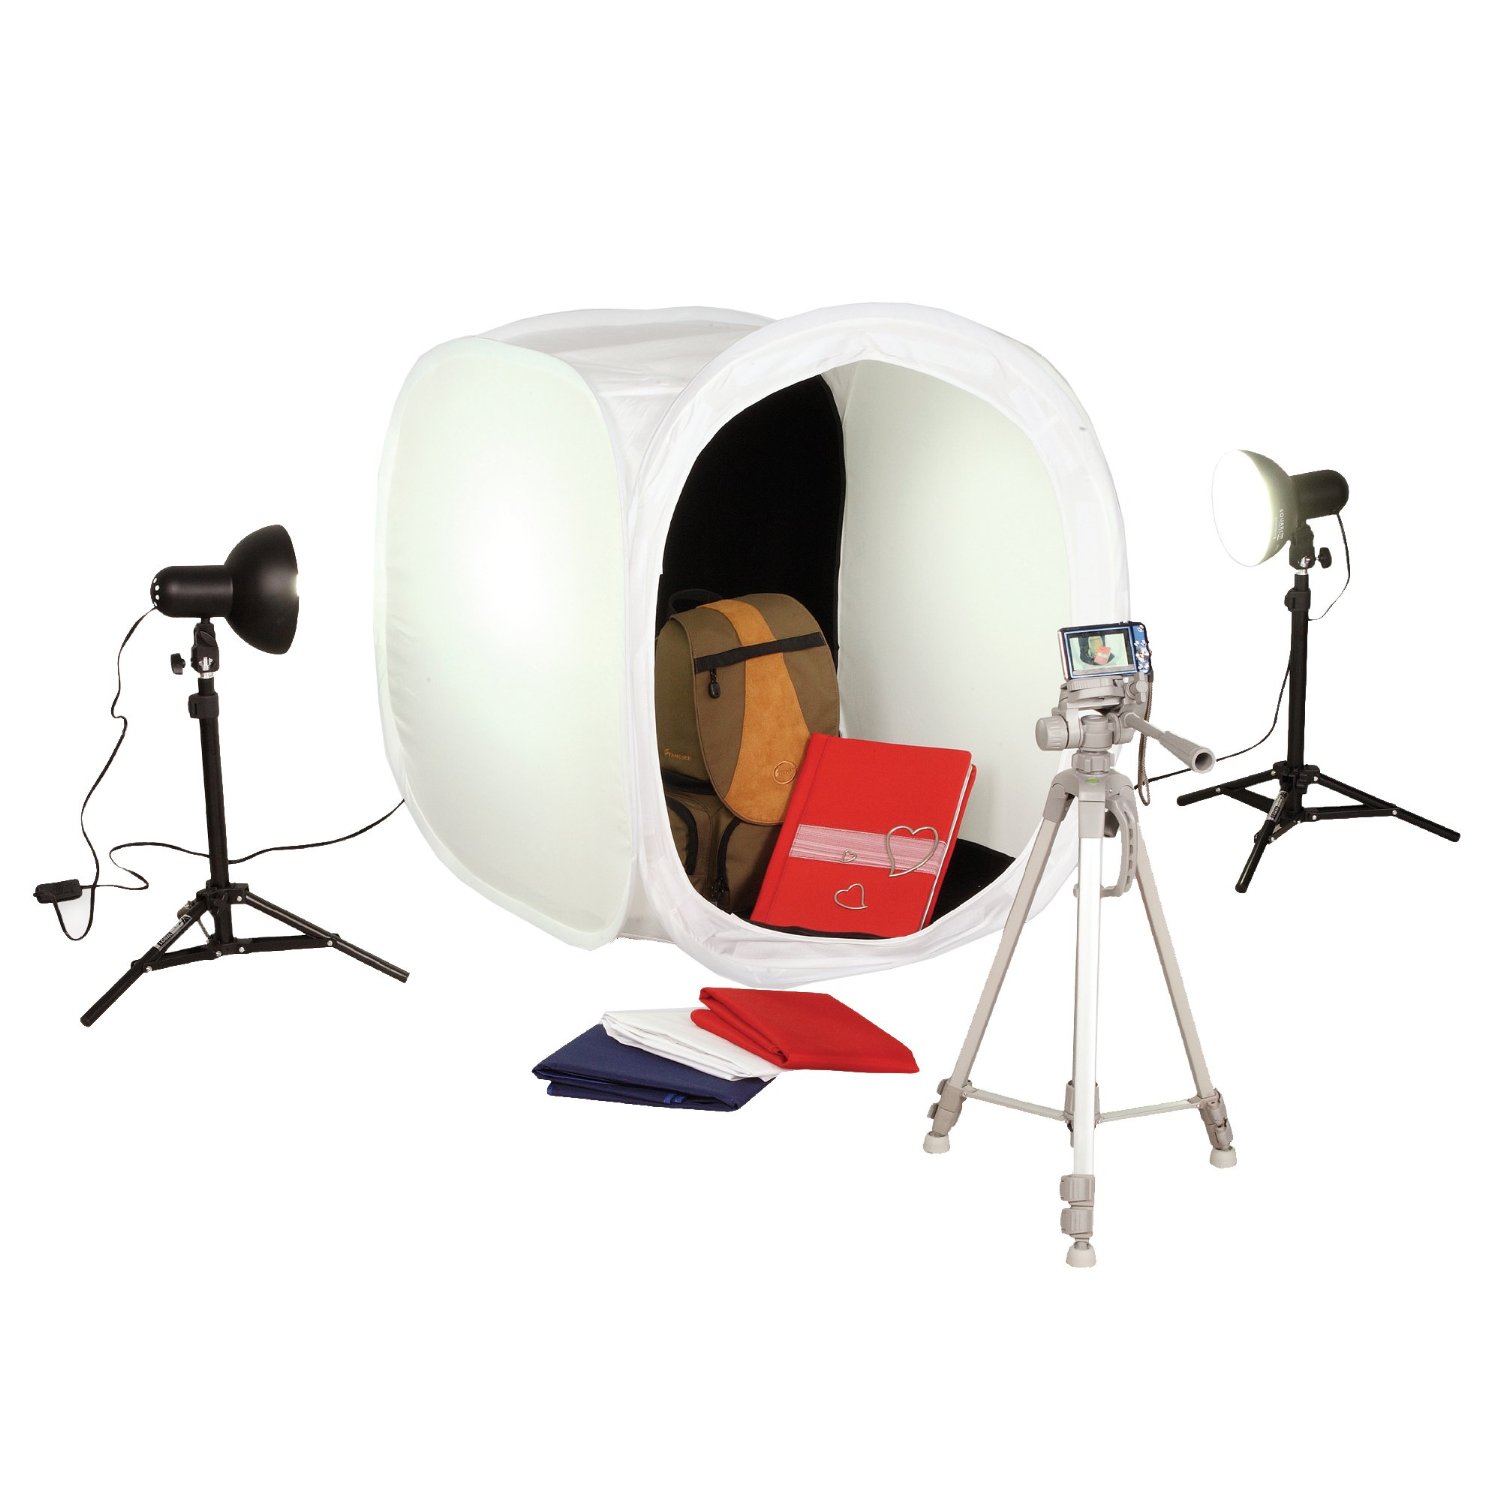
Square Perfect 1050 Sp500
But purchasing new equipment is not always possible due to budget limitations.
Instead of viewing budget restrictions as a setback, try working around that obstacle by creating your own softbox out of everyday items that you probably have lying around your house. Follow this simple guide to hack your own softbox and illuminate your products evenly.
1. Gathering Supplies
- Box:Choose the size that you feel will fit your products comfortably. When you place the product inside the box, is there enough room to view the entire product? does the size of the box allow for ample space on all sides of the product?
- Utility knife: Make sure that you have a sturdy utility knife to cut your materials down to size.
- Paper: You will need white rolled paper or parchment paper to construct the outer walls and inner sweep of your lightbox. This will help the light to softly stream into the box to light your product and background
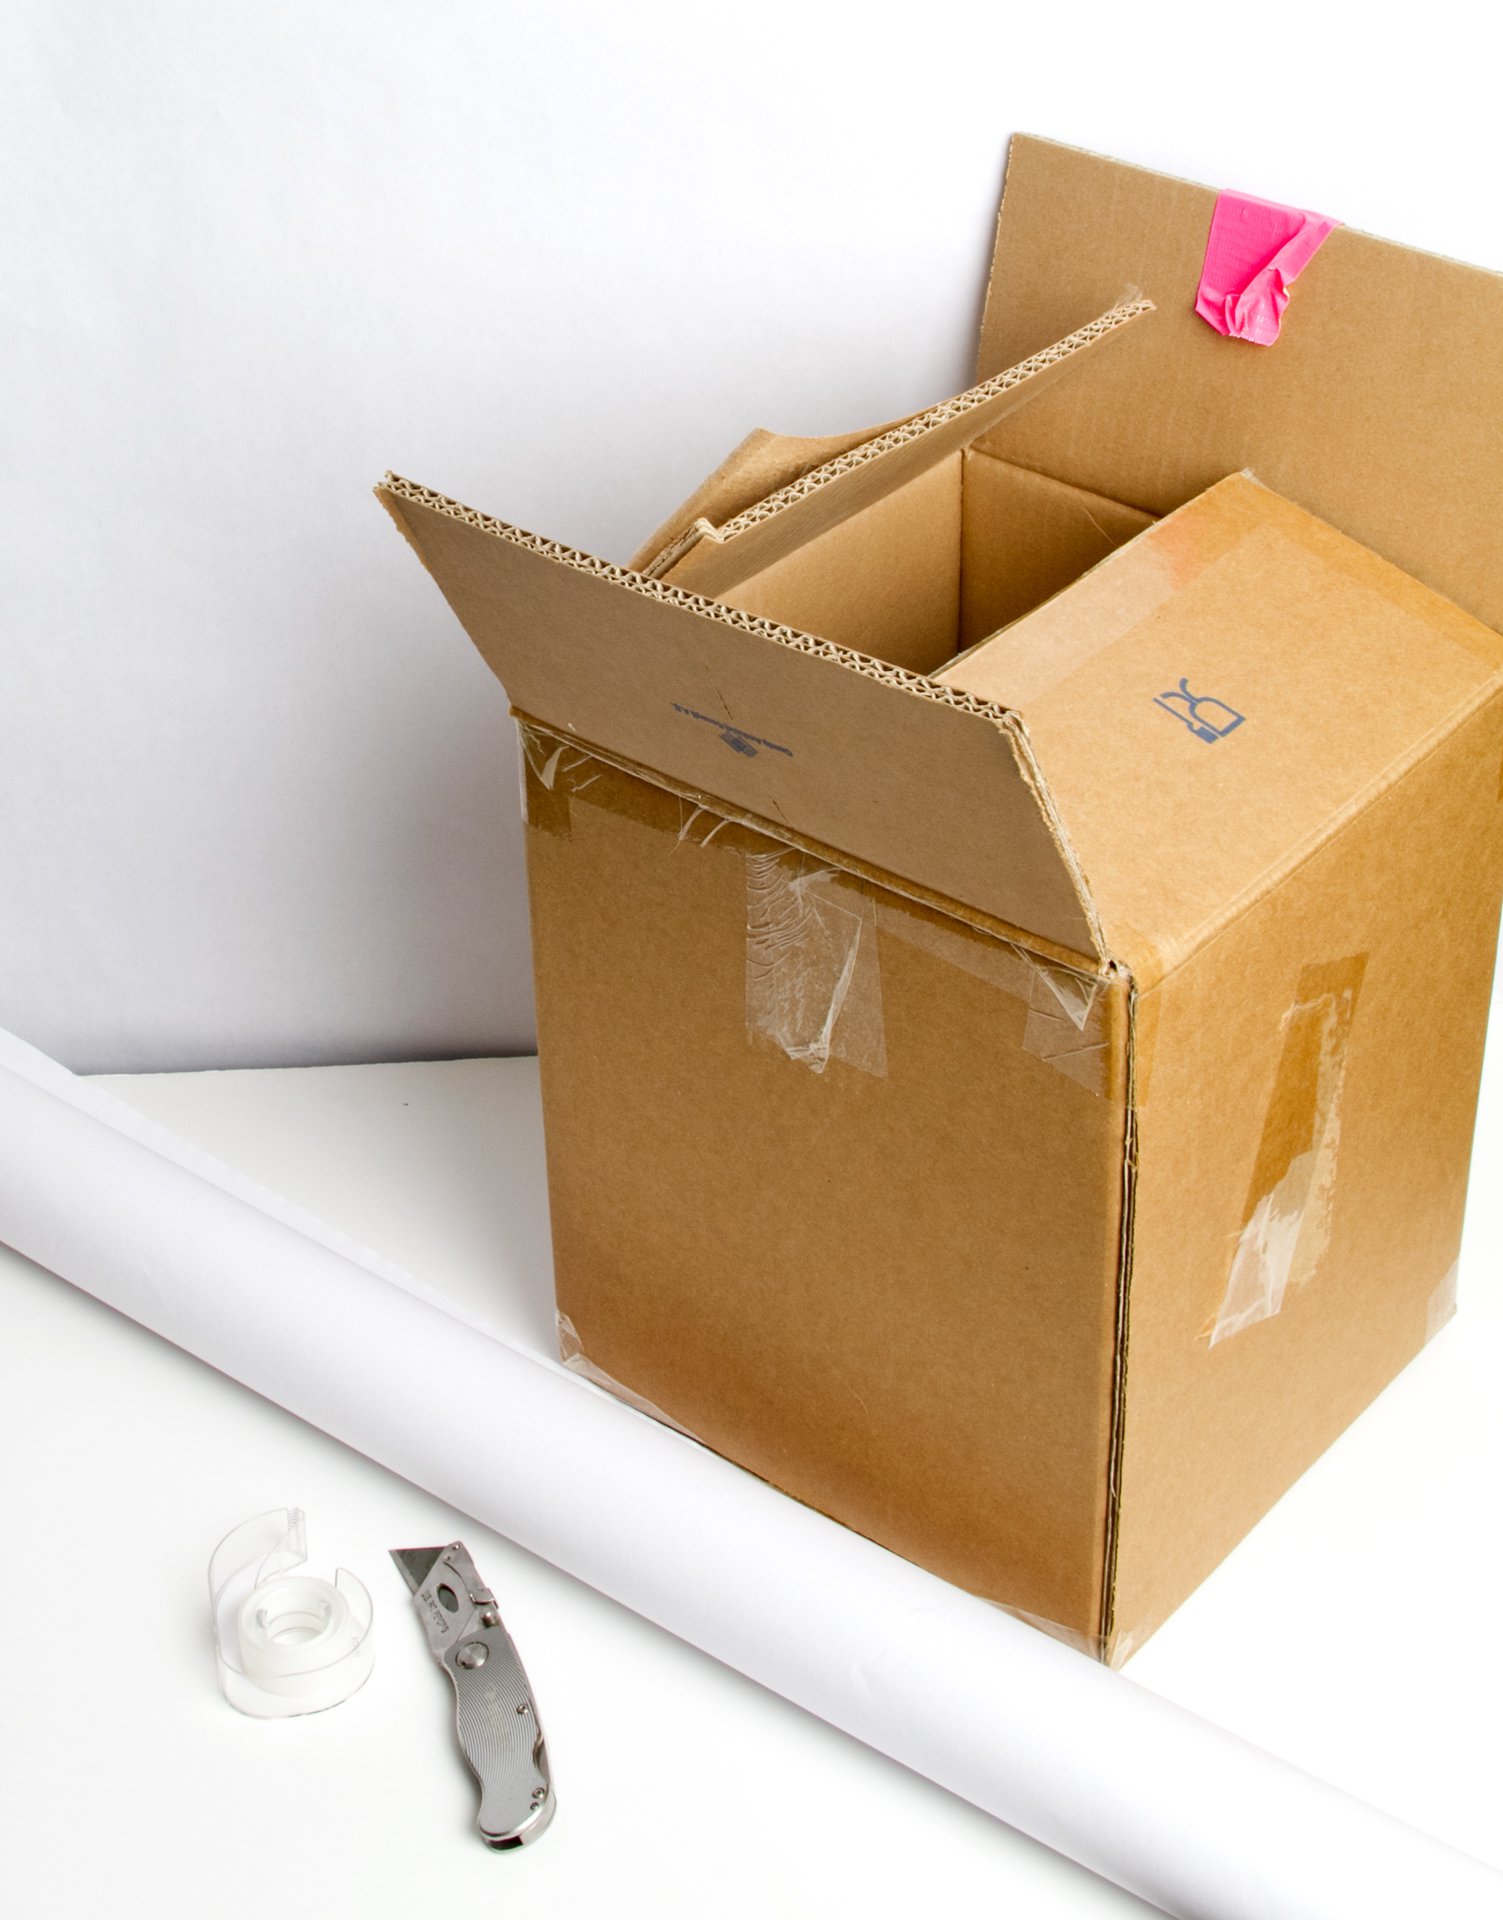
- Tape:You will use tape to secure your box and paper products inside and outside.
- Pen or pencil: You will need a writing utensil to mark measurements on your box.
- Ruler or tape measure: You will need to make accurate measurements in order to construct the lightbox correctly.
- Straight edge: This will be used in concordance with writing and measuring instruments to ensure that your lines and markings are straight.
2. Constructing your lightbox
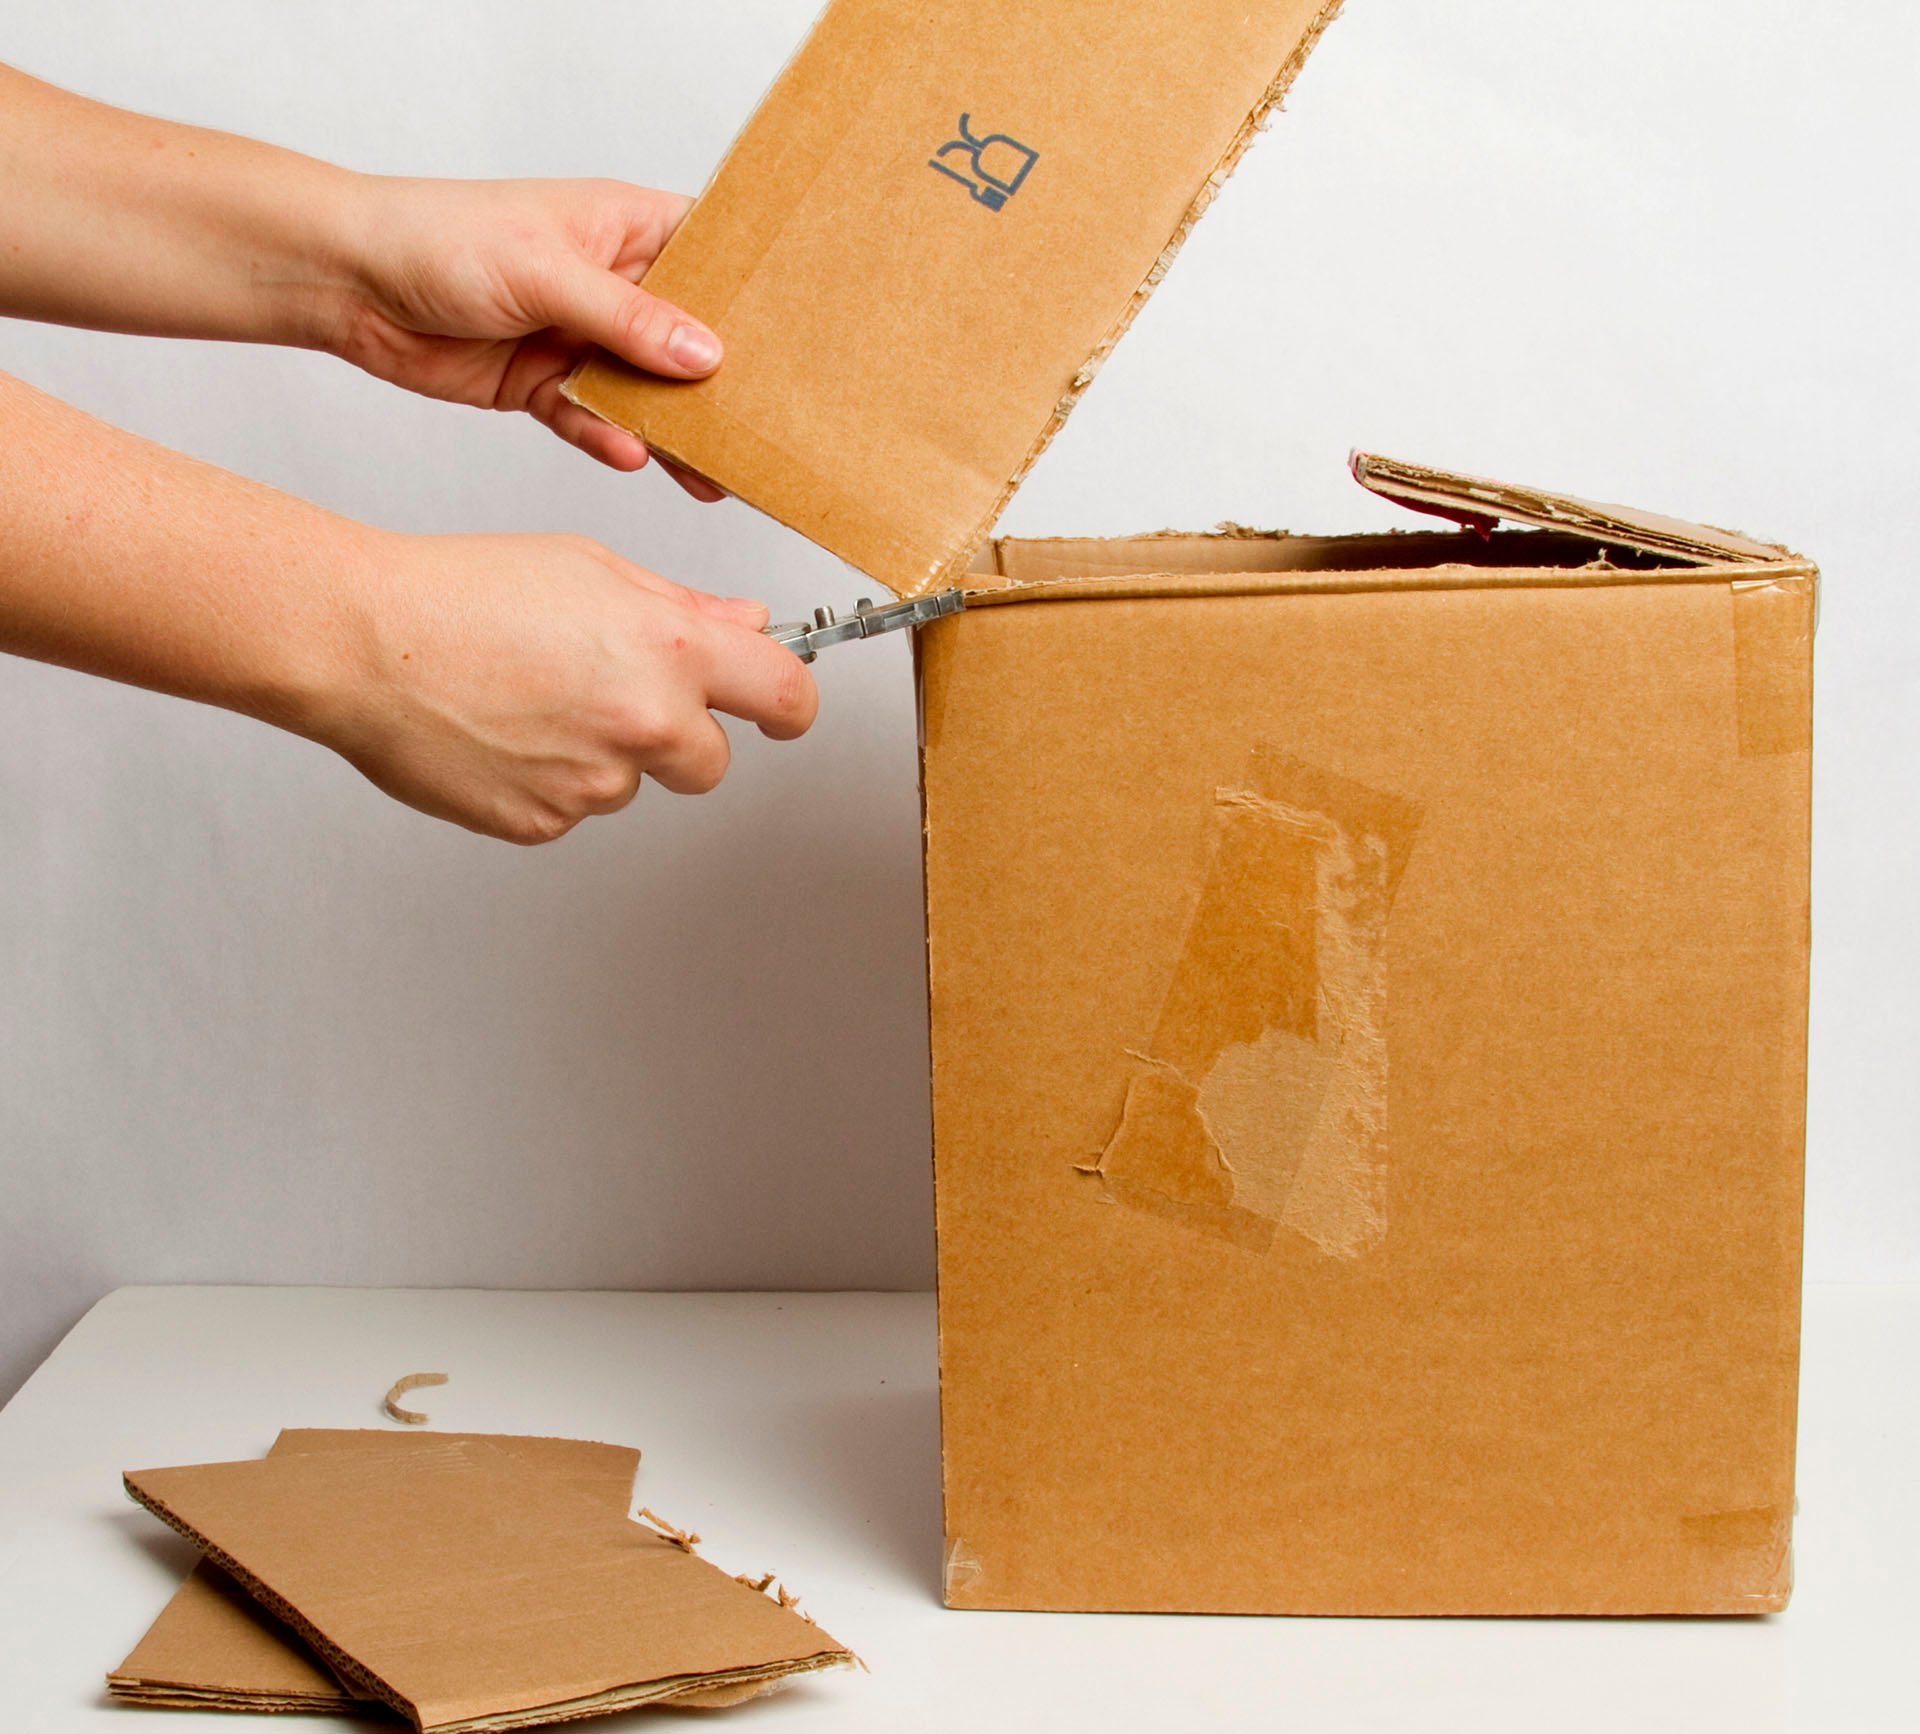
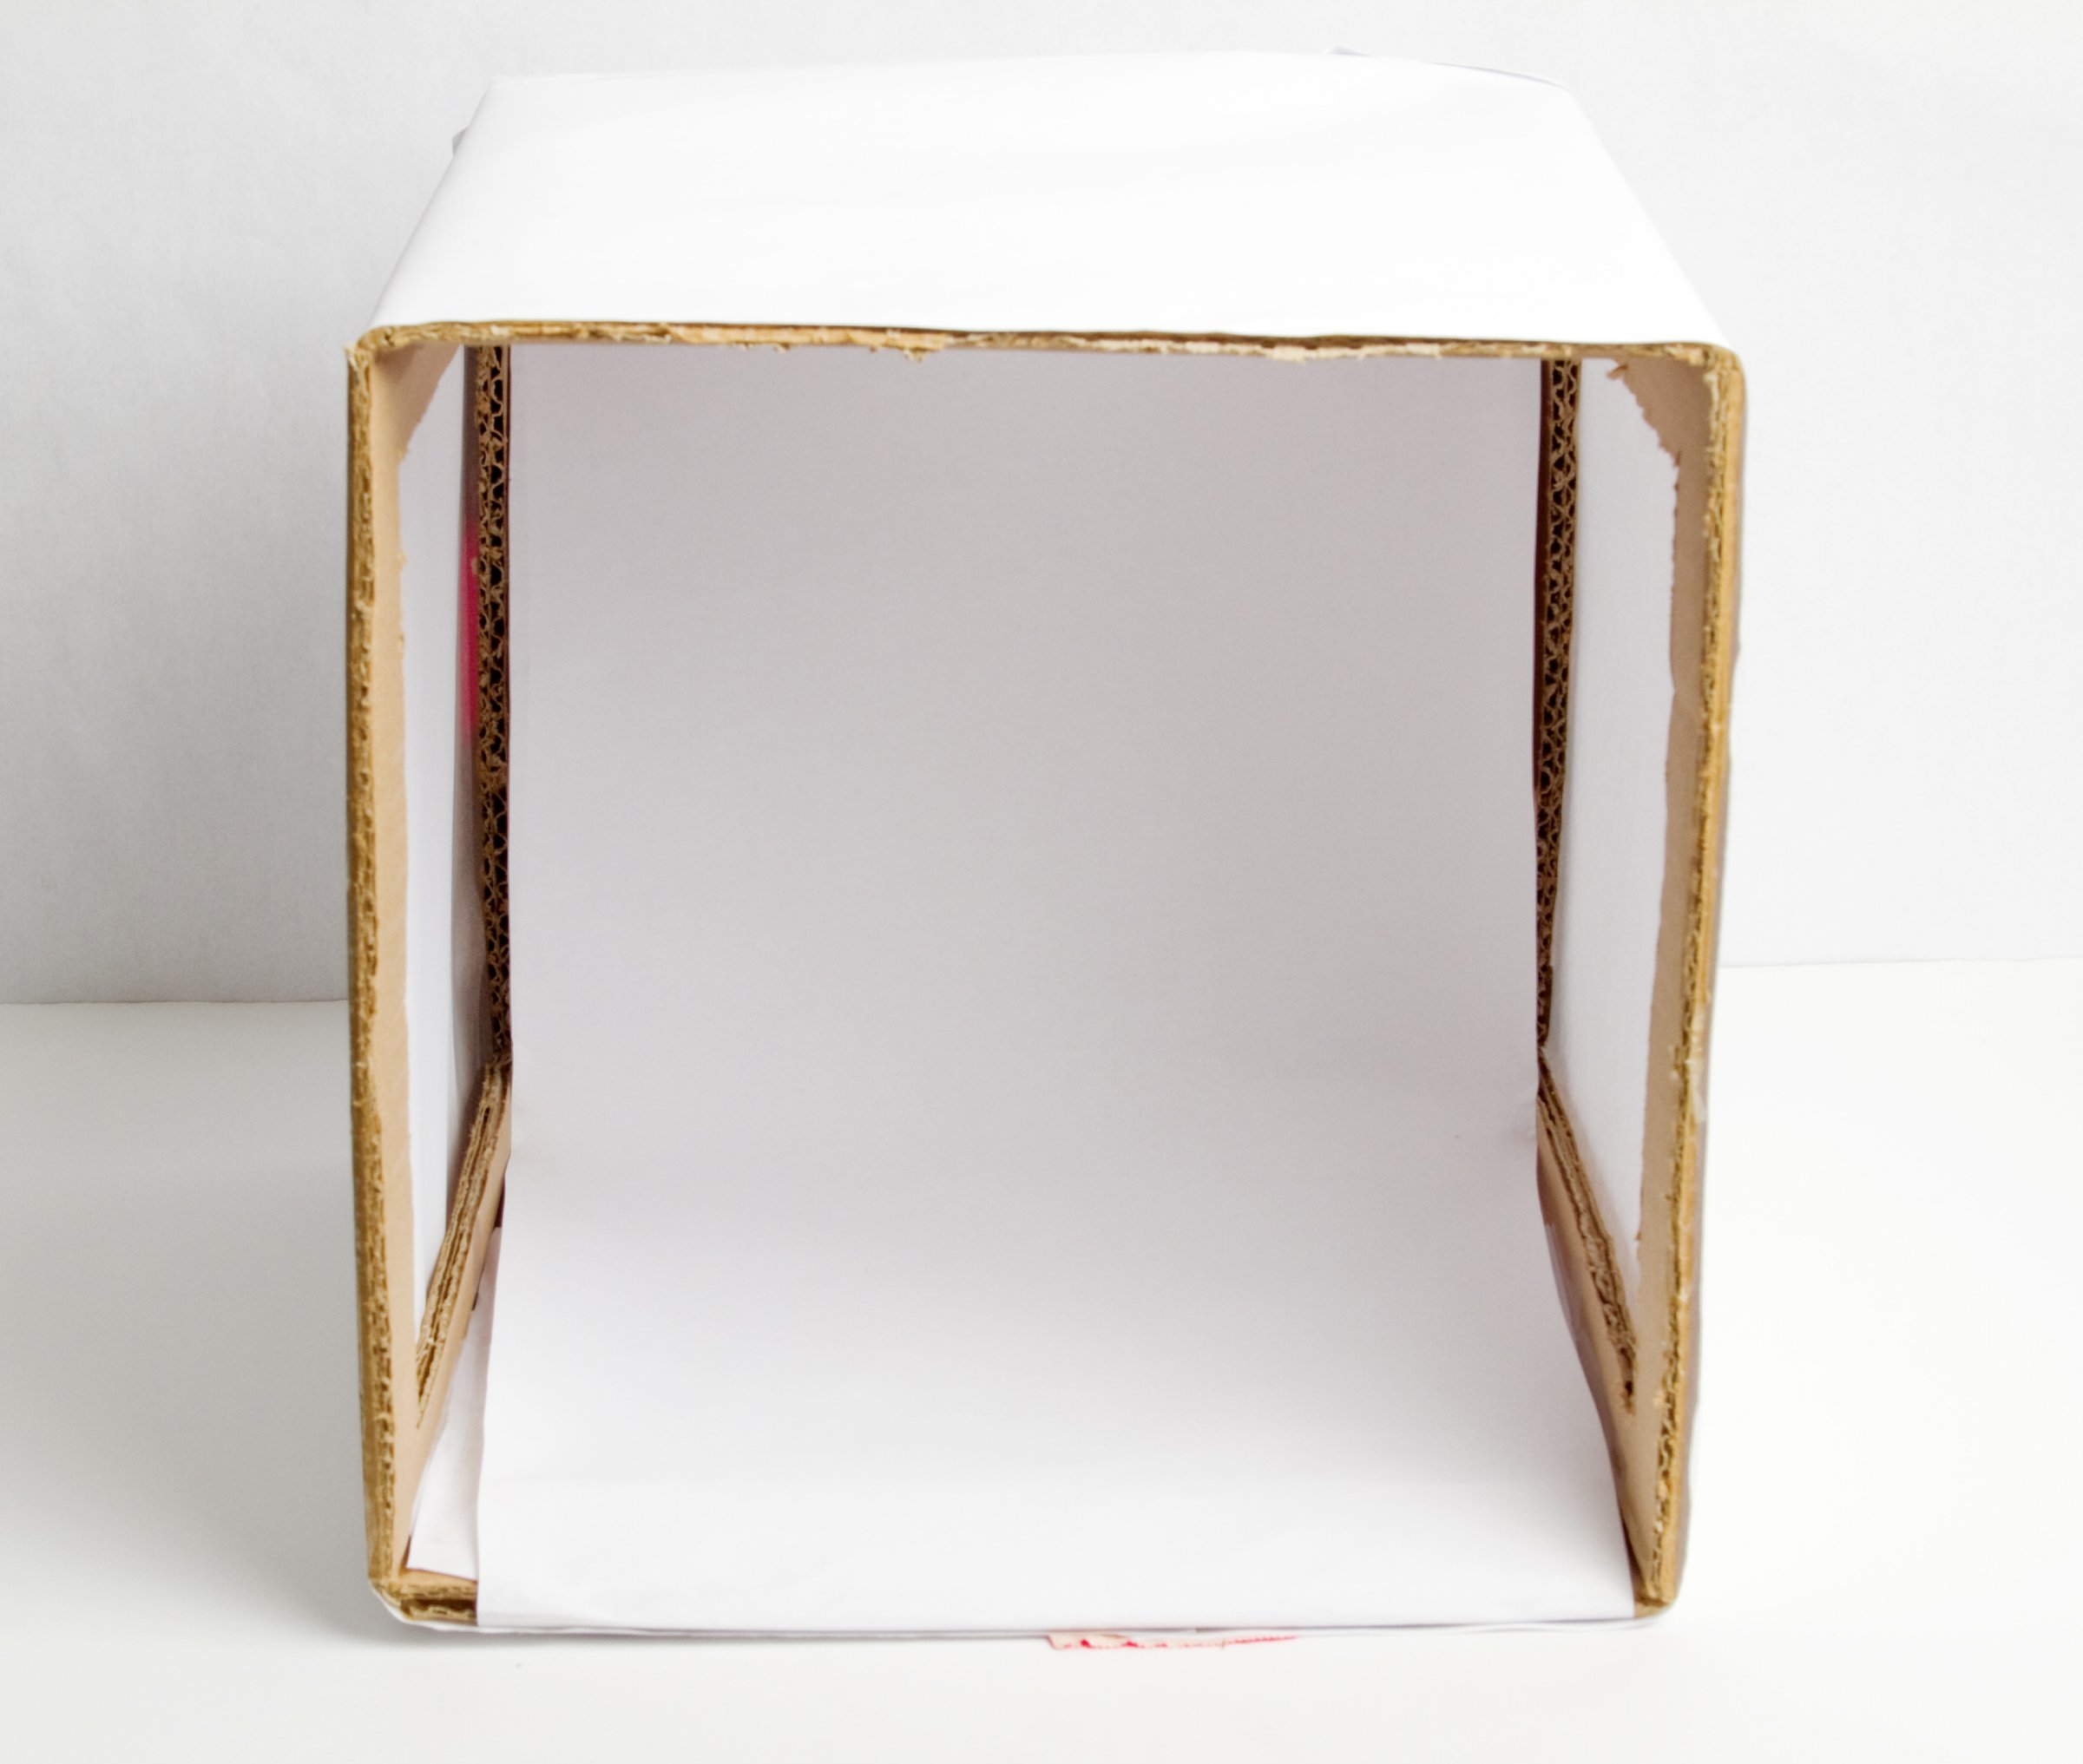
1. Tape or leave one side of your box closed shut. This will serve as the back of your soft lightbox. Cut the open side’s flaps away so that the box smooth across the top.
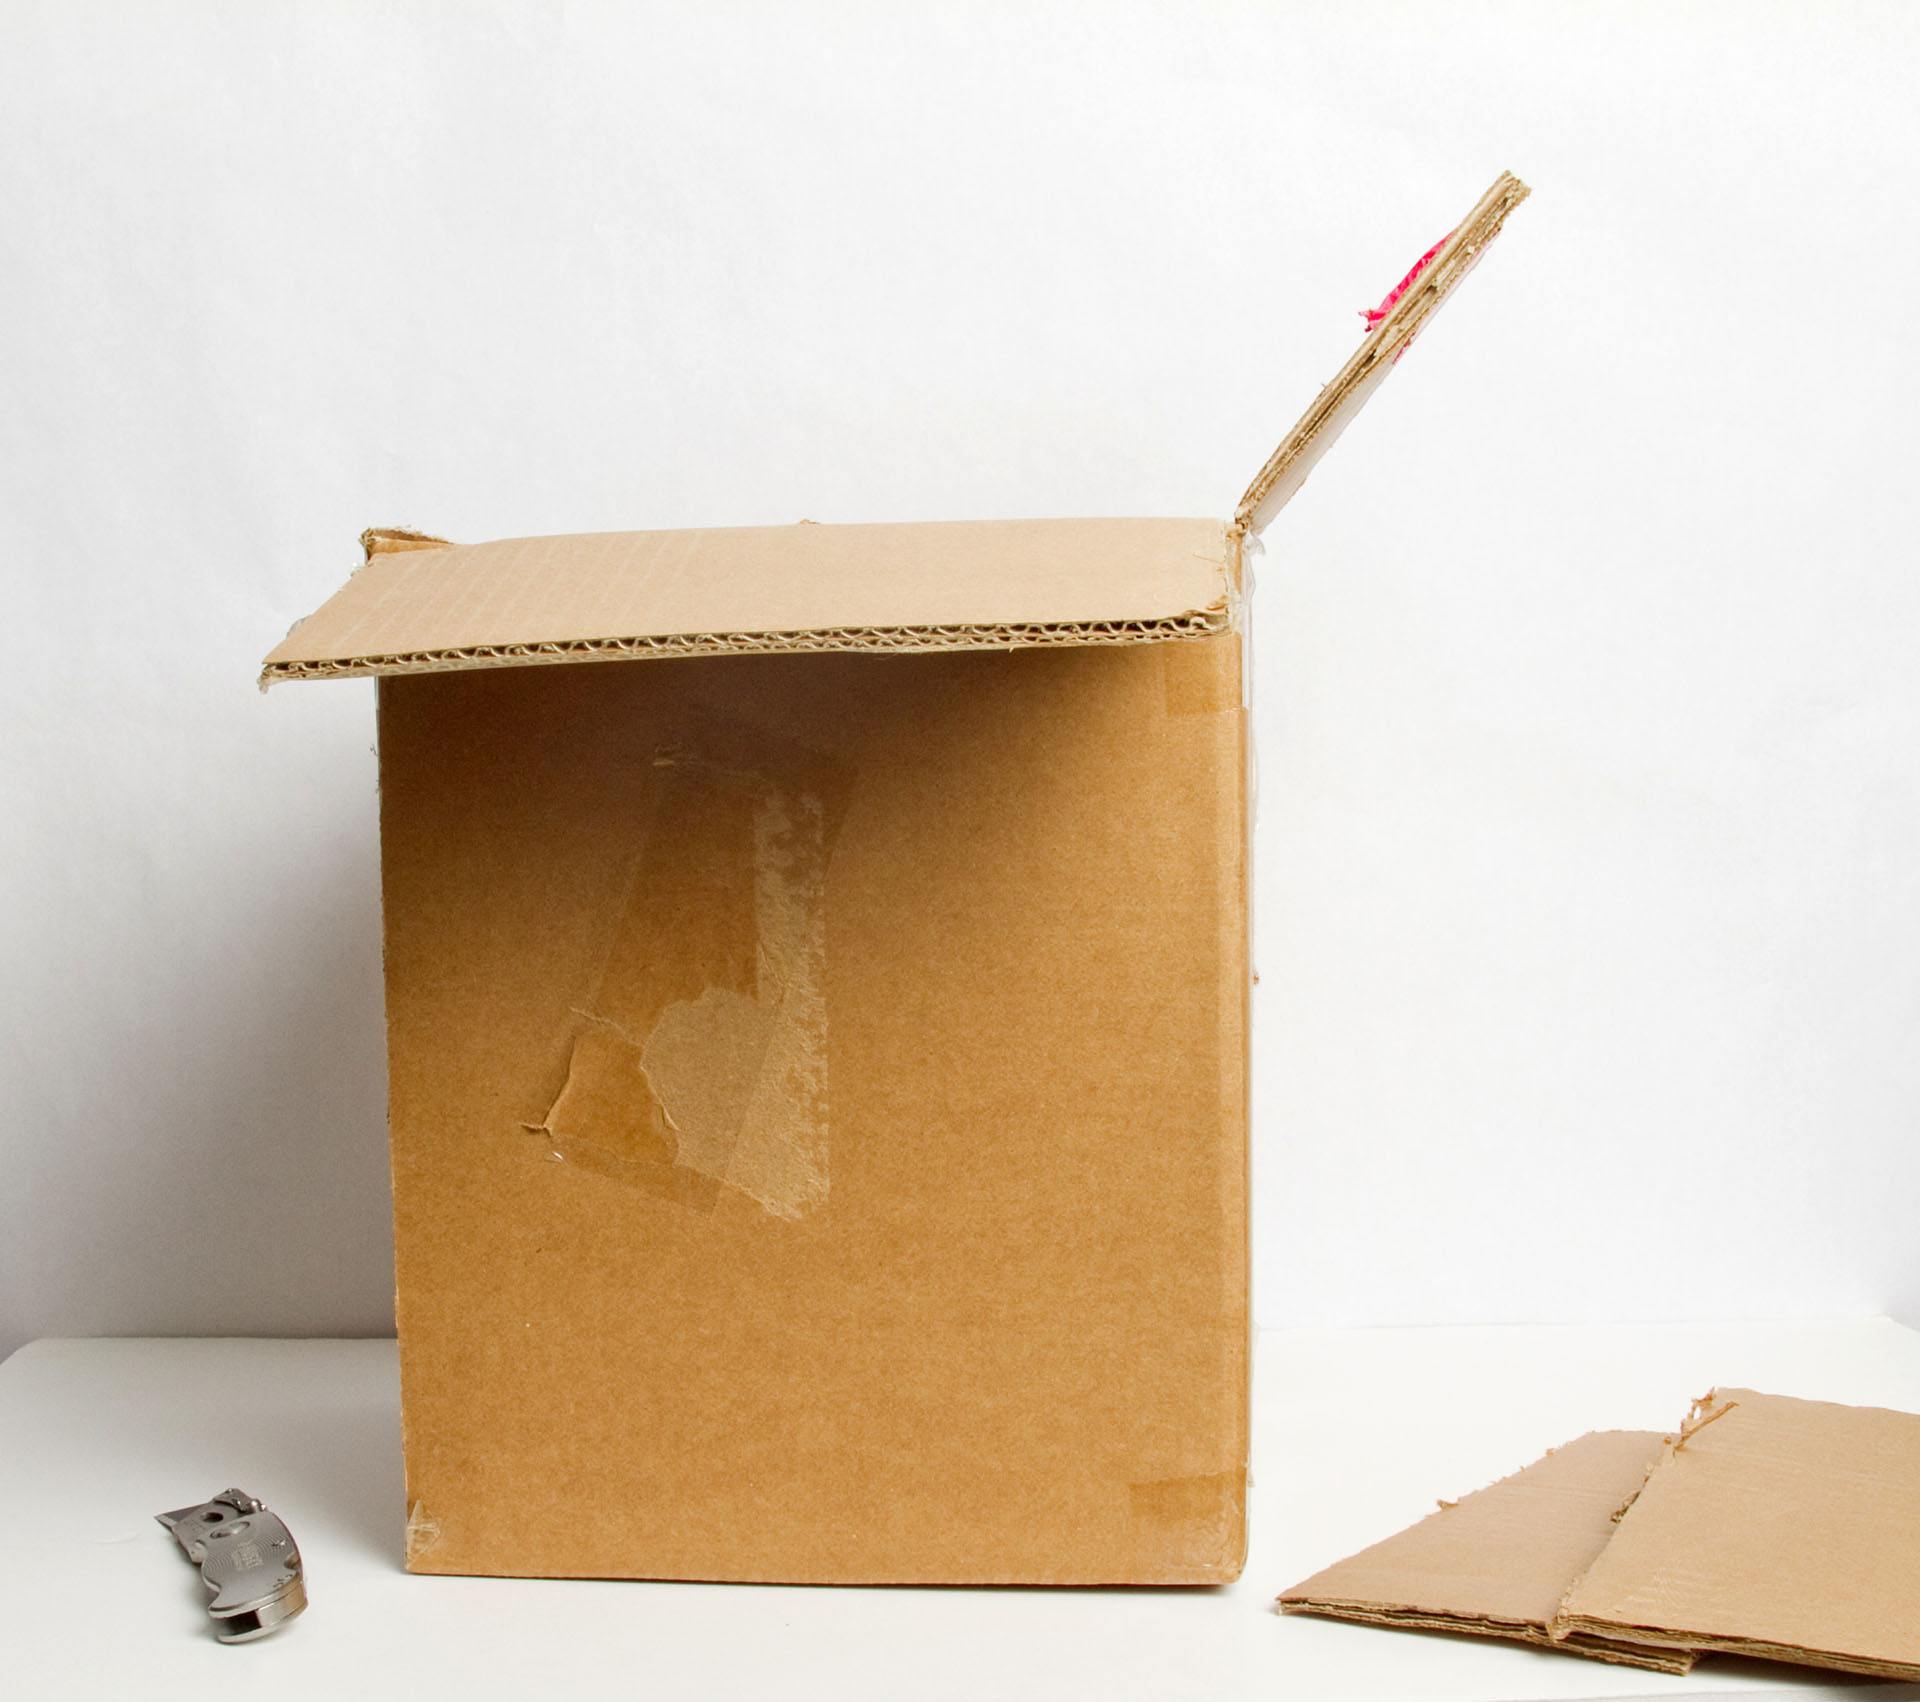

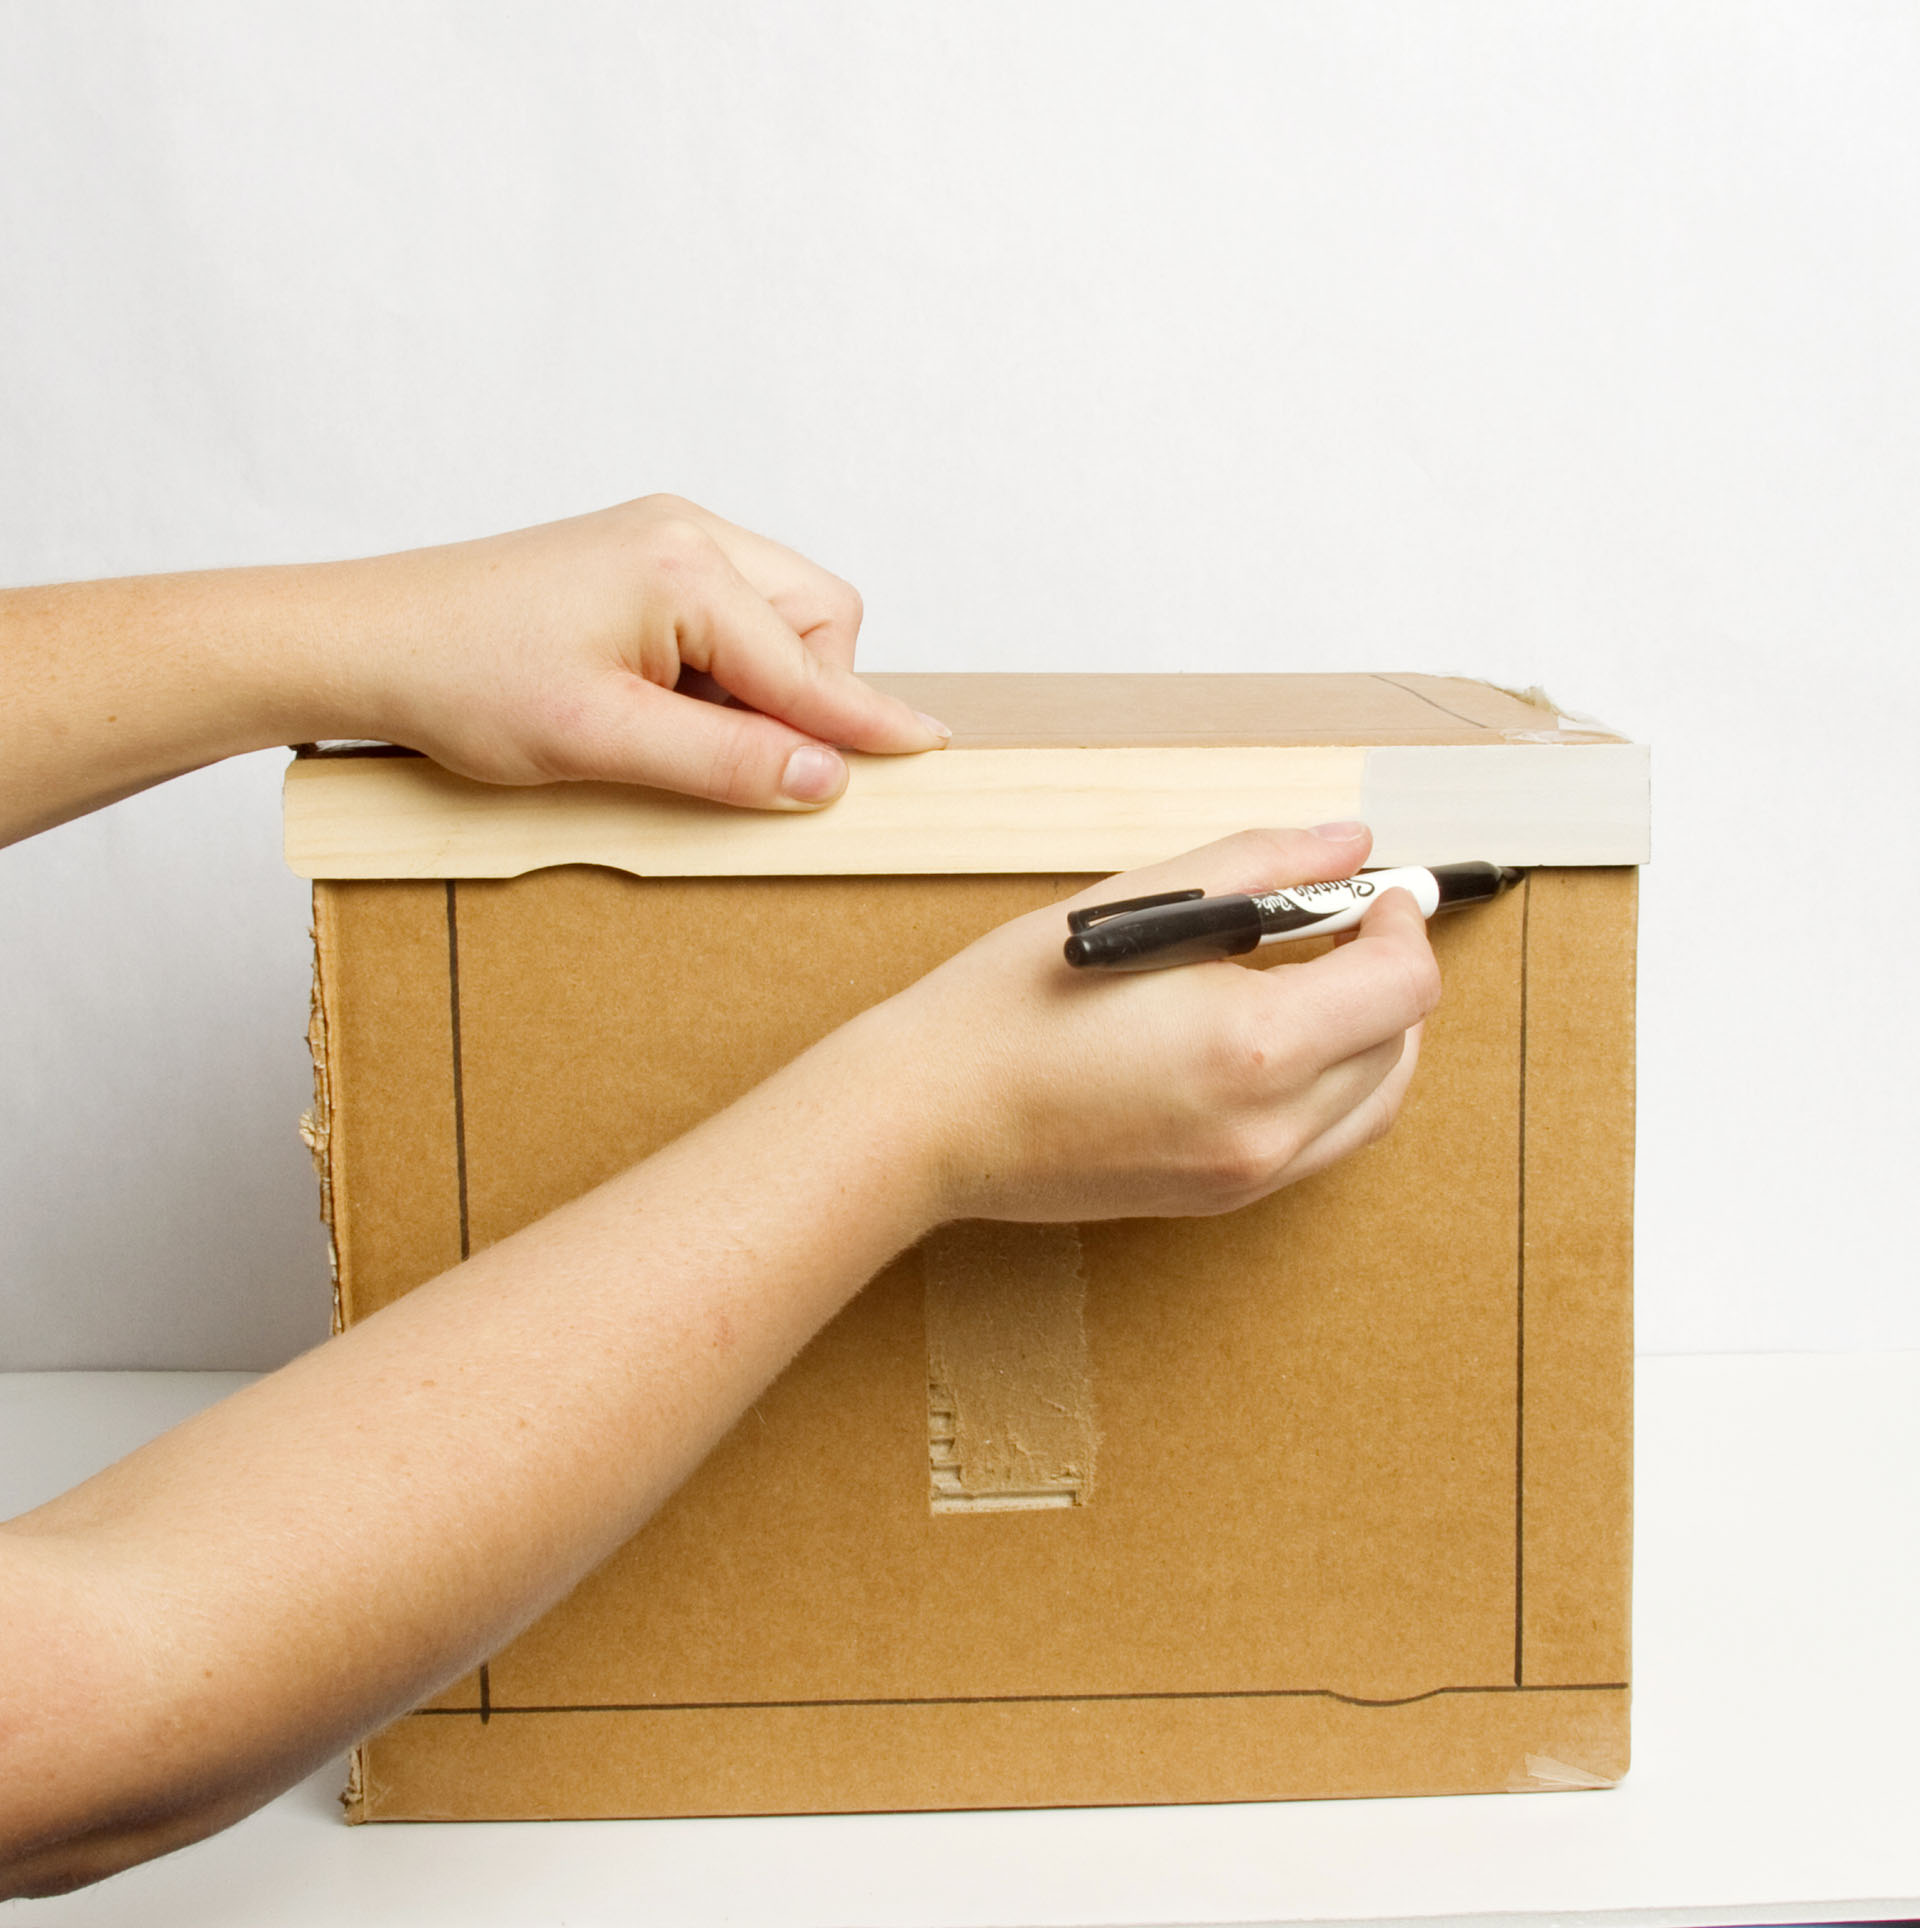
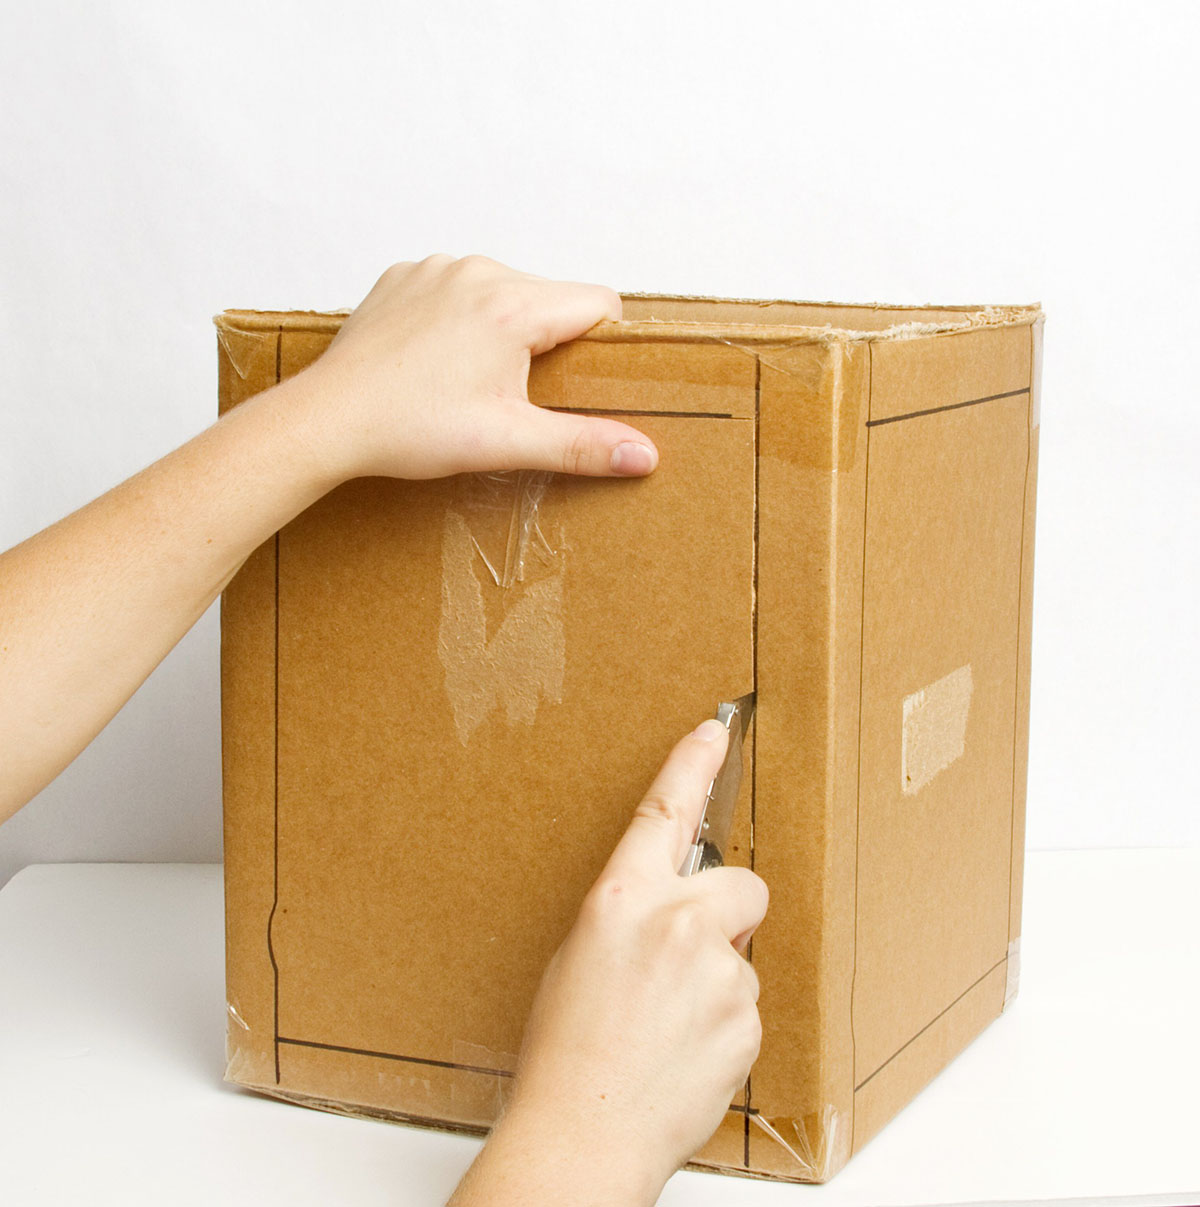
2. Draw straight lines to form a square on the left, right, and top sides of the box. Next, carefully cut along these lines and punch out the squares until you have three “windows,” as shown below.


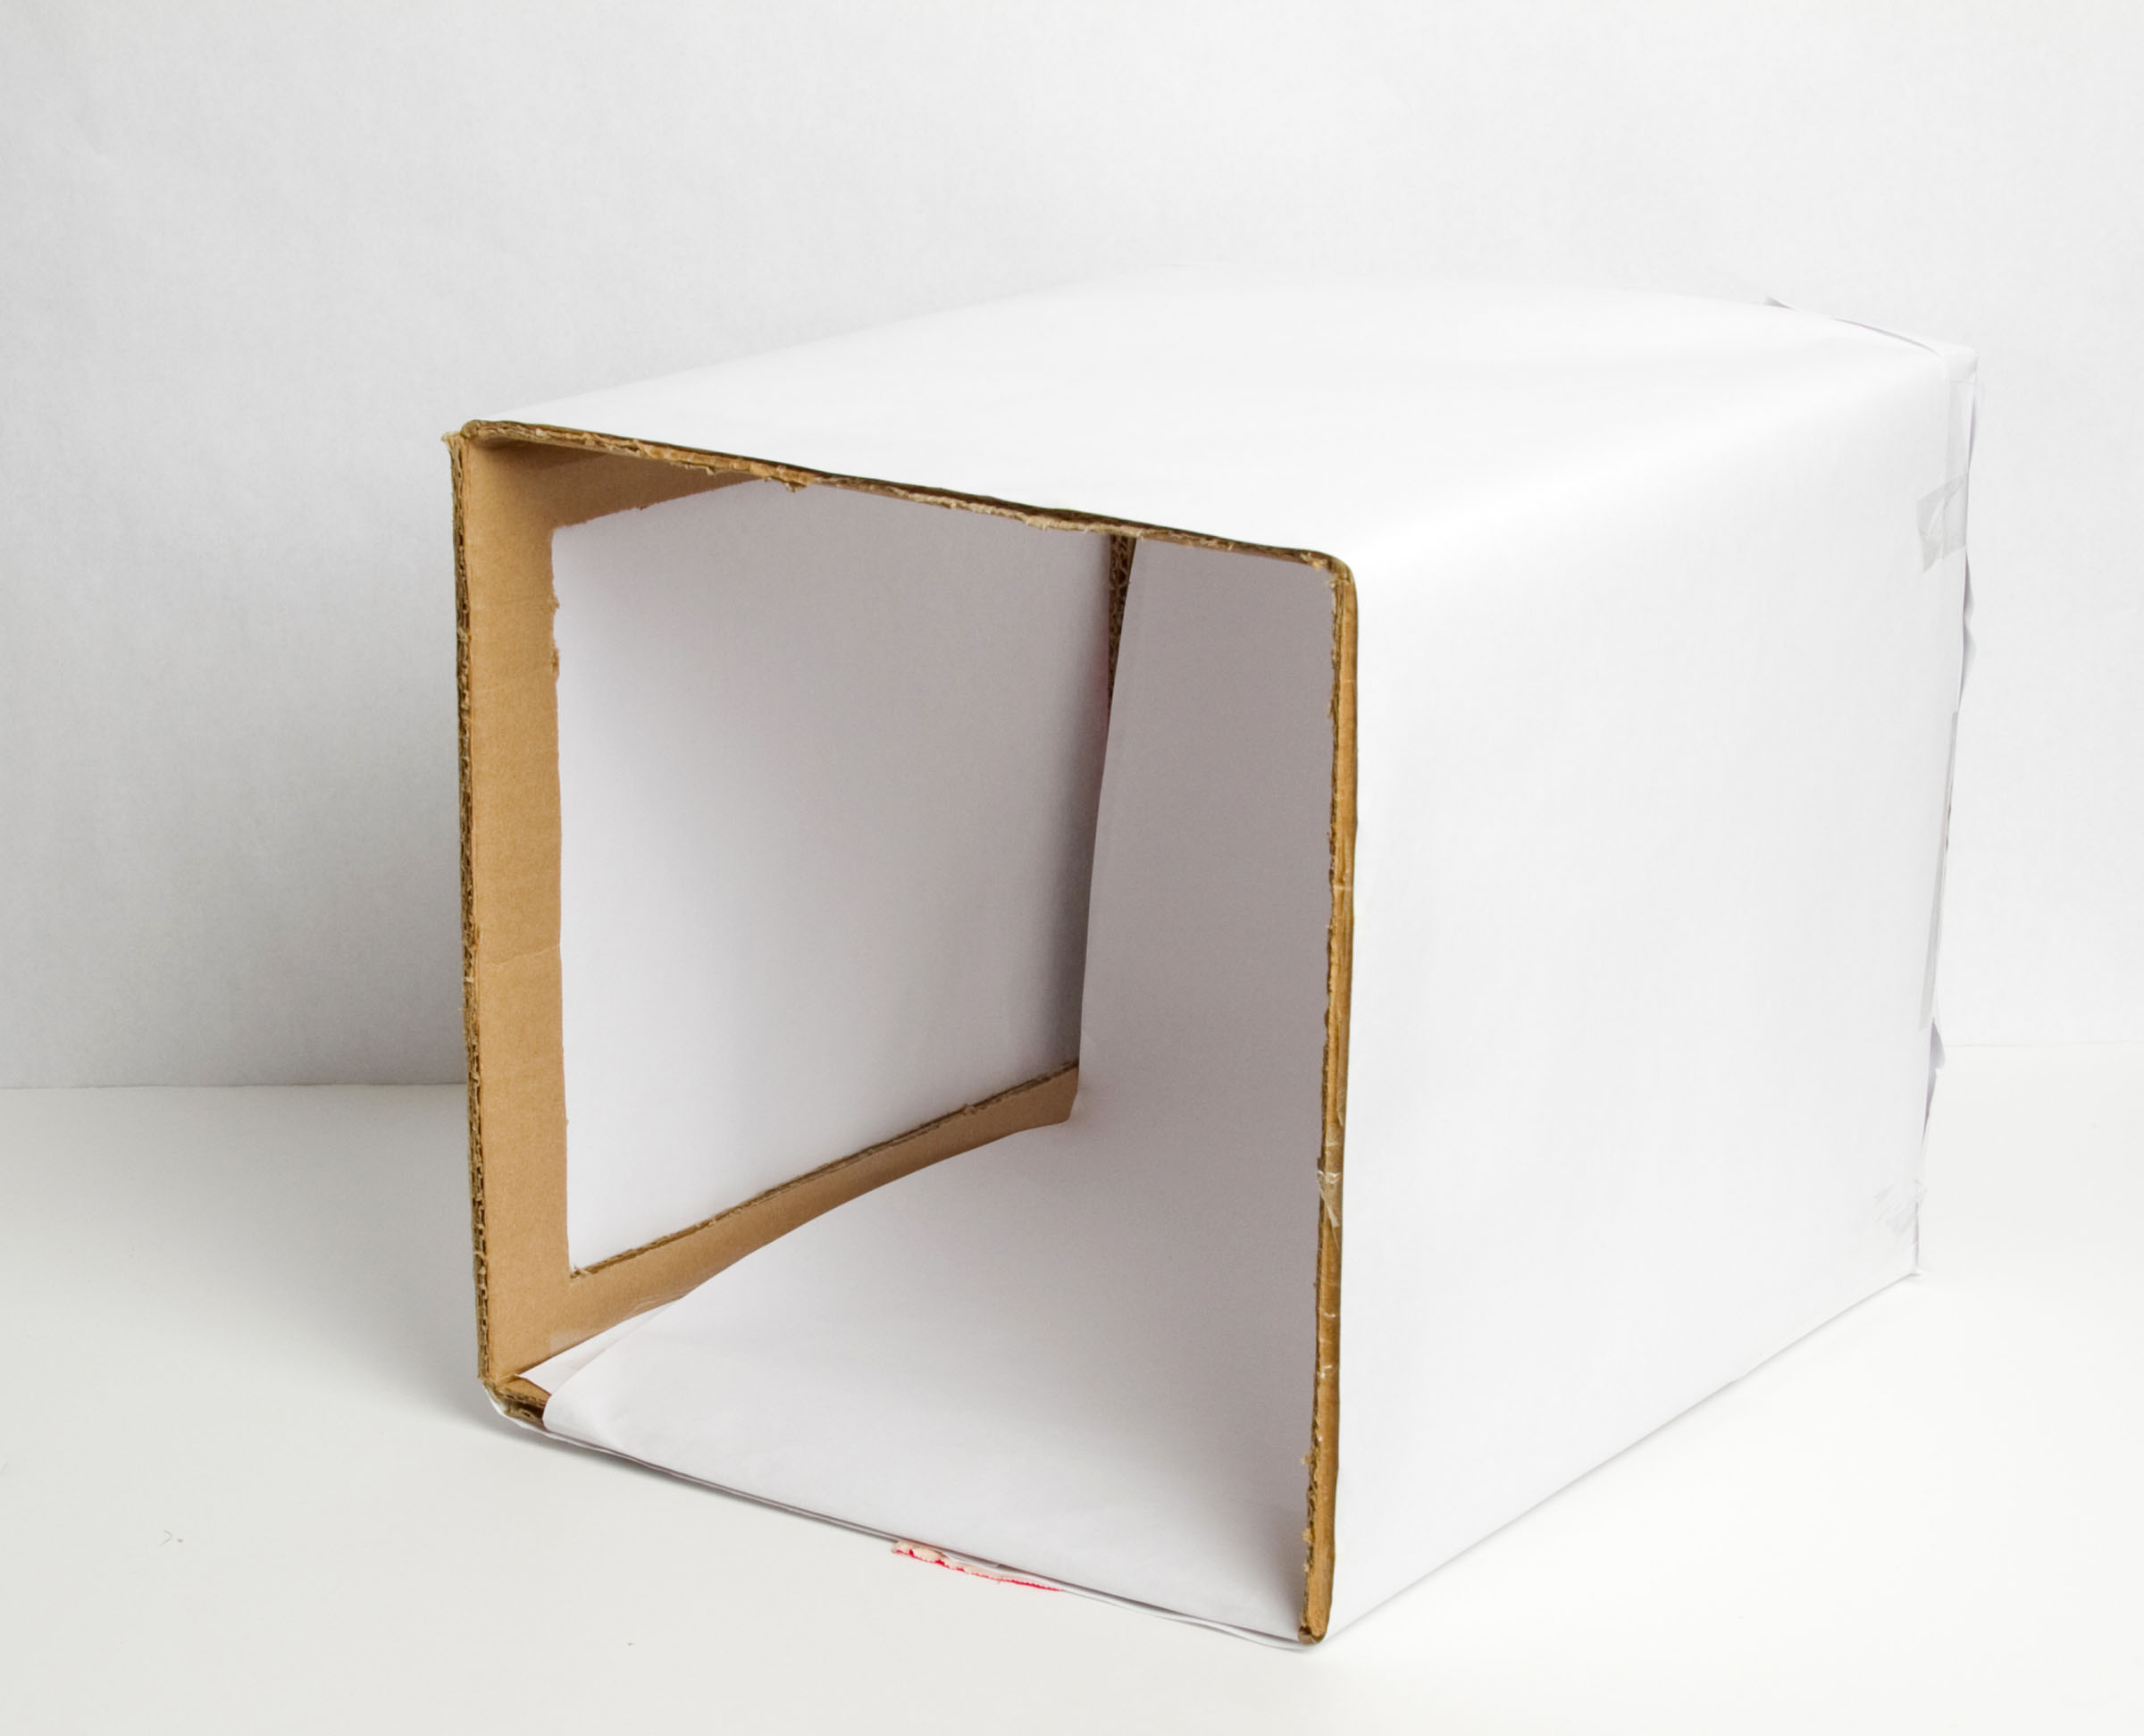
3. Trace the bottom of the box onto your white rolled or parchment paper and cut a paper sweep to fit inside of your box. Next, tape the paper to the back inside of the box to form your background sweep.


4. Wrap the sides of the box in paper to cover the “windows,” as shown below. Tape along the edges to keep the sides firmly in place. You should now have one window opening to shoot through and the rest of the box should be covered, inside and out, in white paper.
3. Using your Lightbox
To use your lightbox, place your product in the center of the box and set up your camera so that you can shoot directly into the open “window.” Whether you are using natural or artificial light, you will notice that the light streams in through the paper softly, lighting your product evenly on all sides.
If you are using natural light, position your box so that one window is located to the left or right of the box, or so that light can stream in evenly on both sides of the box. You will encounter a similar principle when arranging artificial lights. You can even try using three lamps—one on each side and the other hanging above the setup.
Try taking images before using the box and after to see the difference it can make with your product. Here’s a before (left) and after (right) shot from our own shoot:
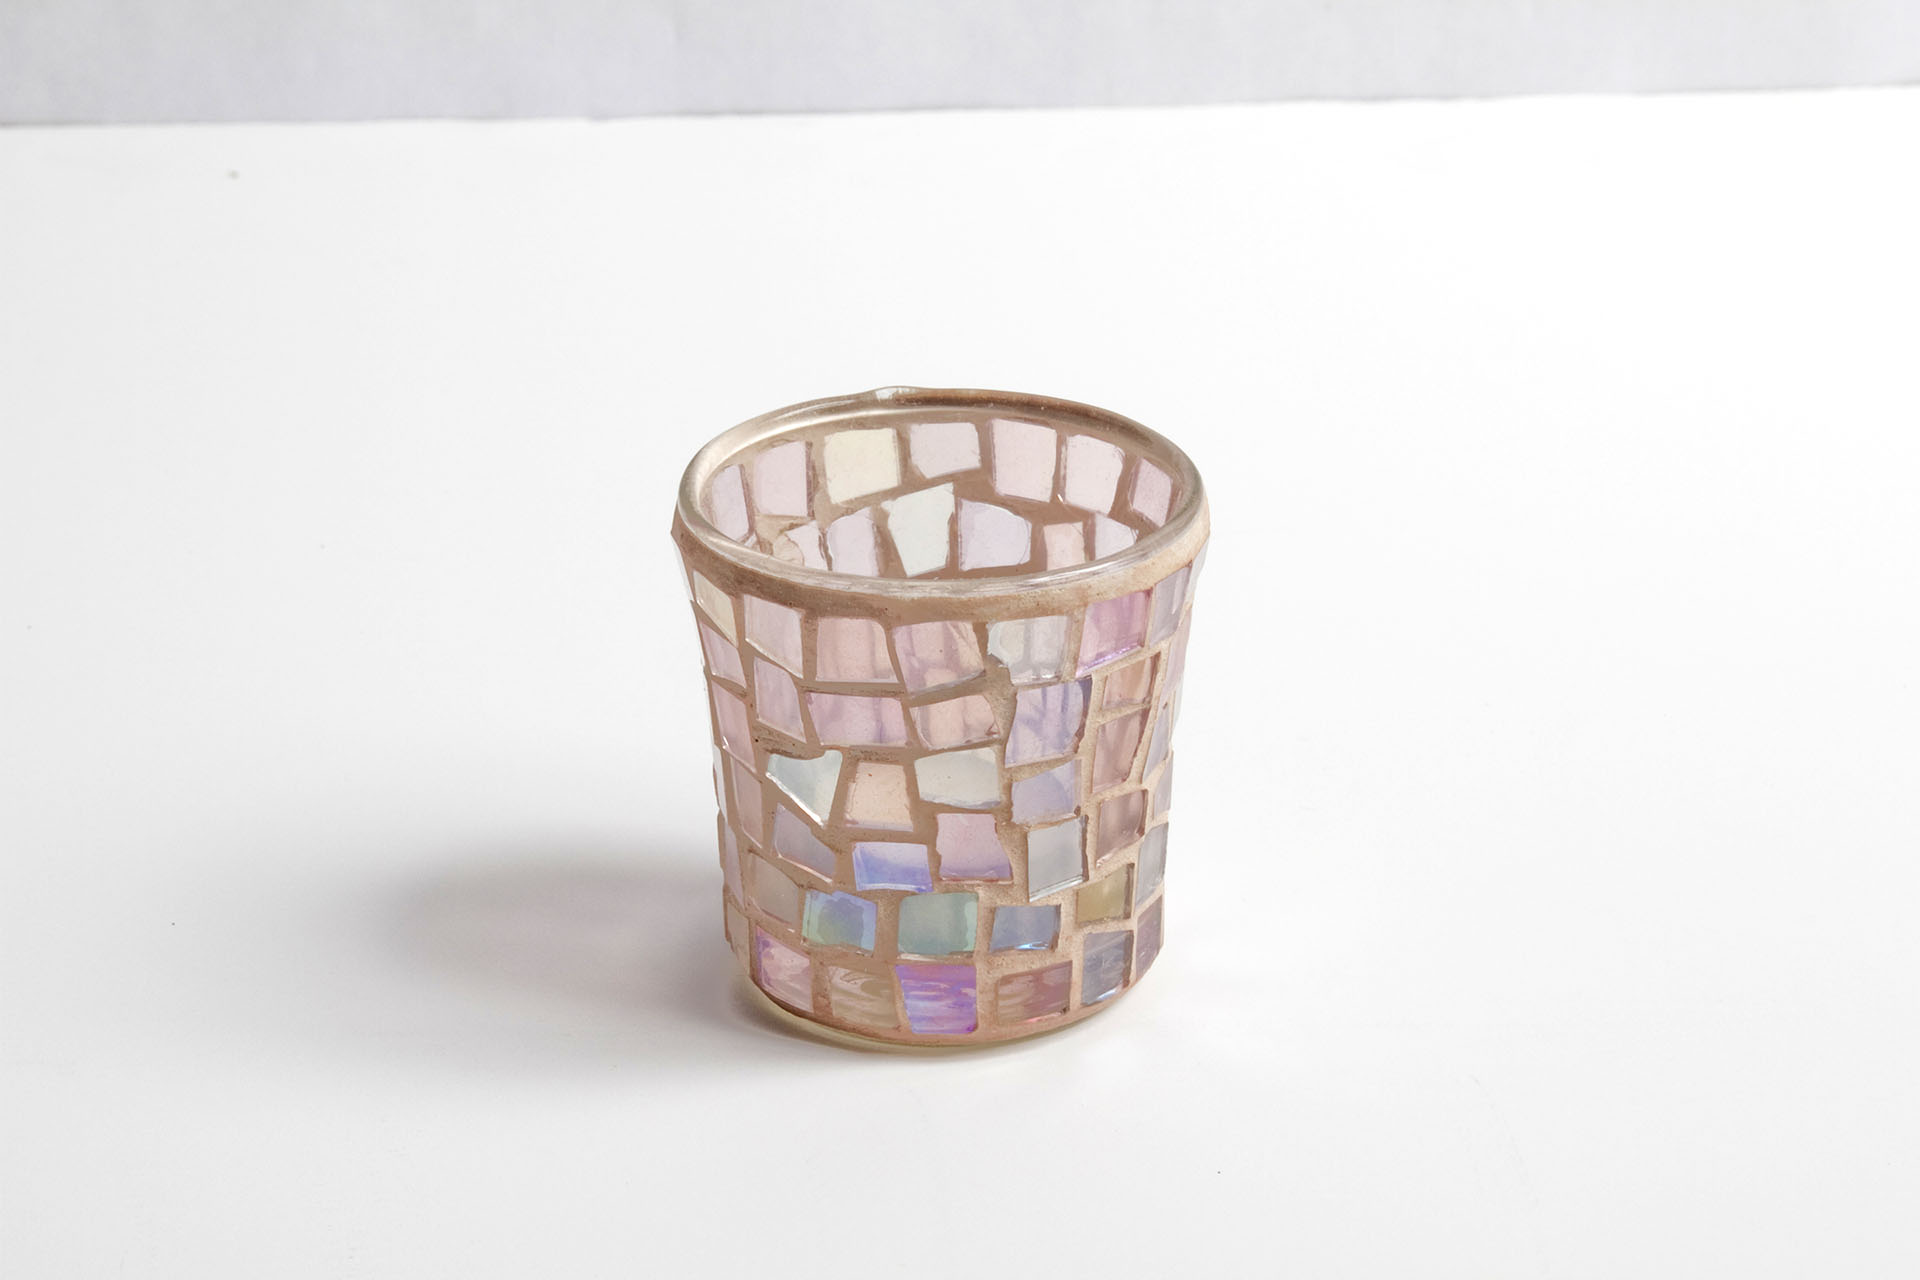
Without the box
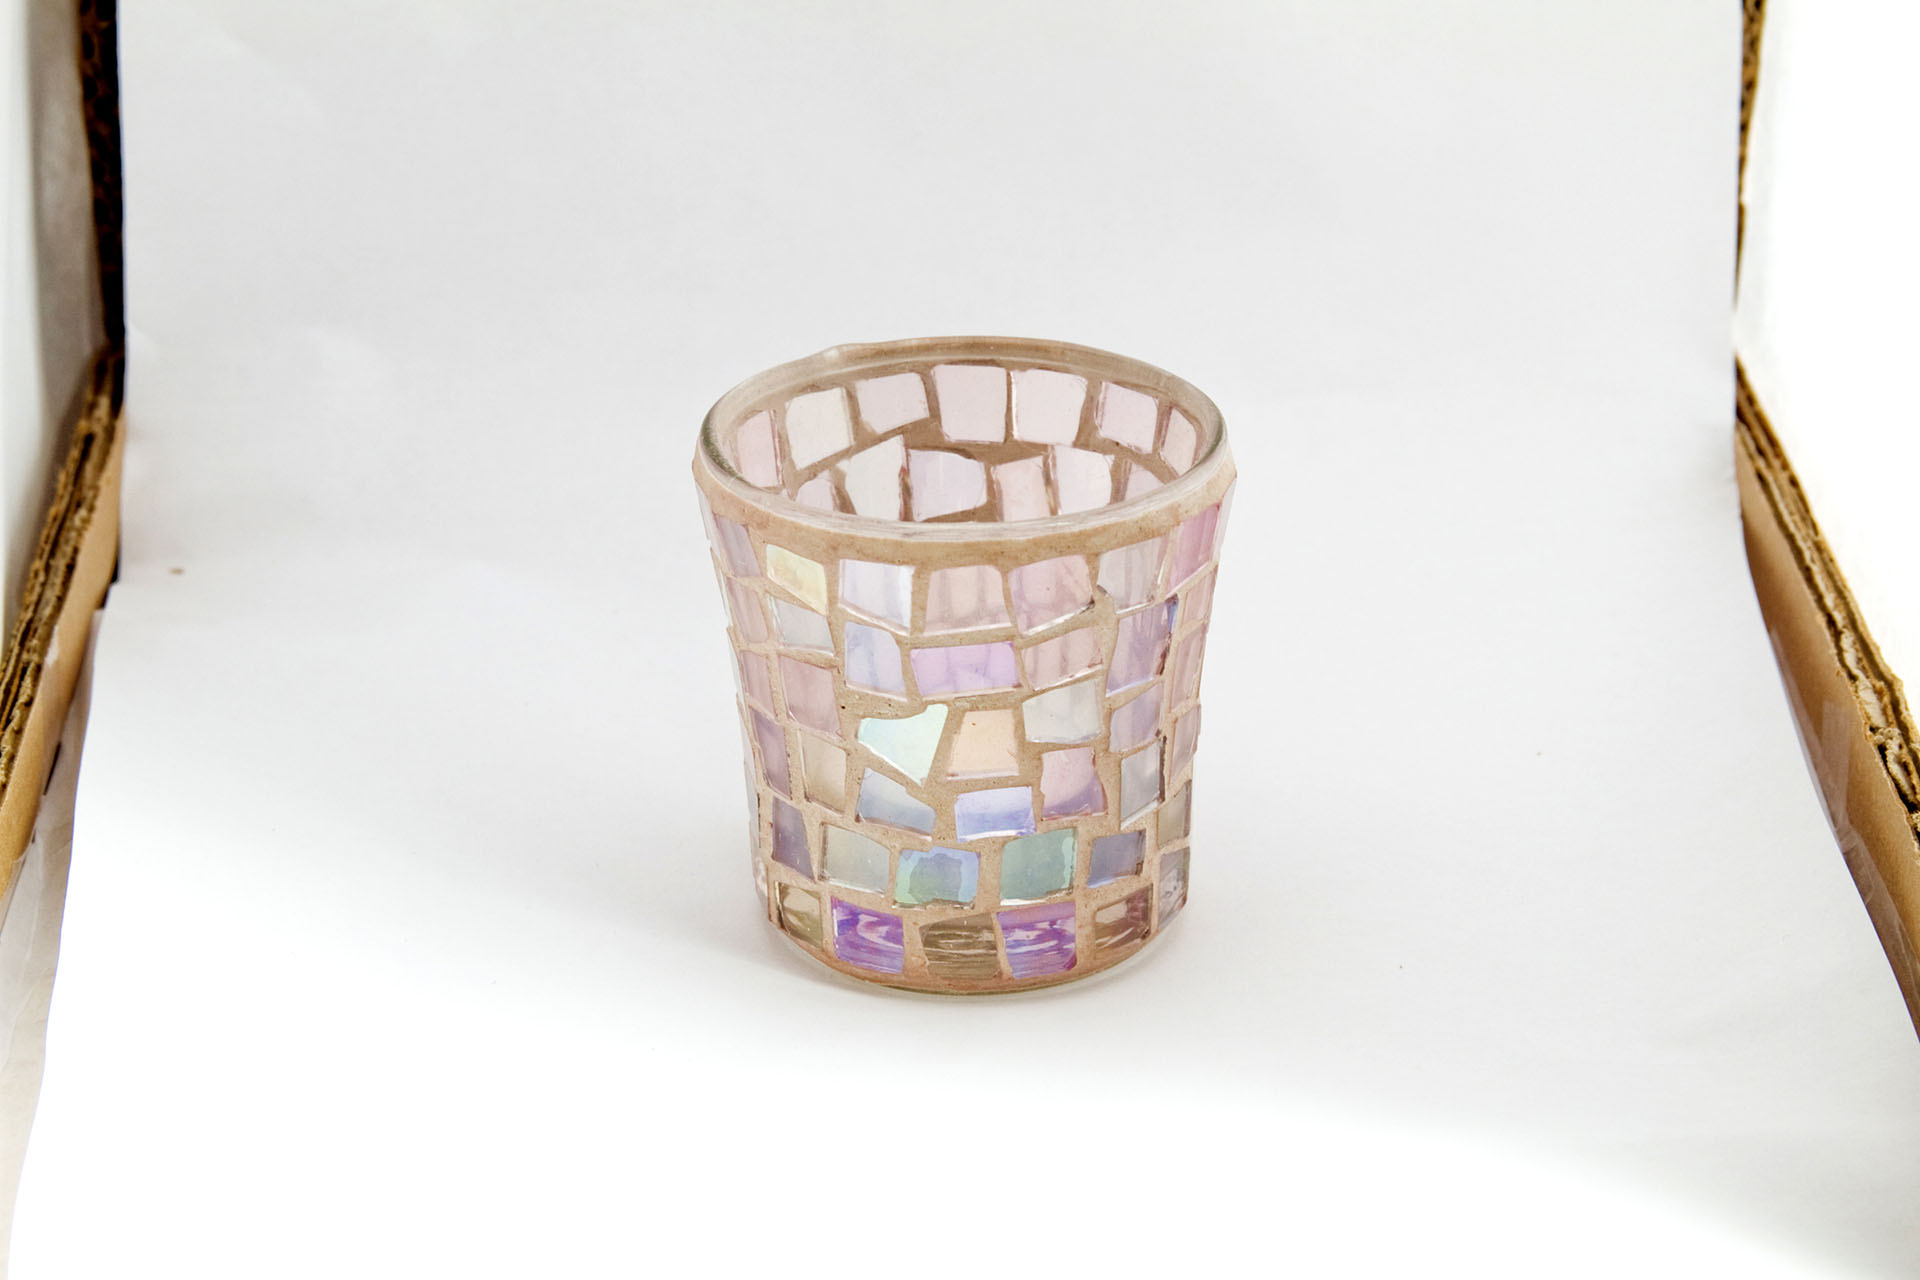
With the box
Although, the image taken without the lightbox may be brighter, the light is contrasty and harsh on the product, whereas in the image taken with the lightbox, the light is soft and flattering
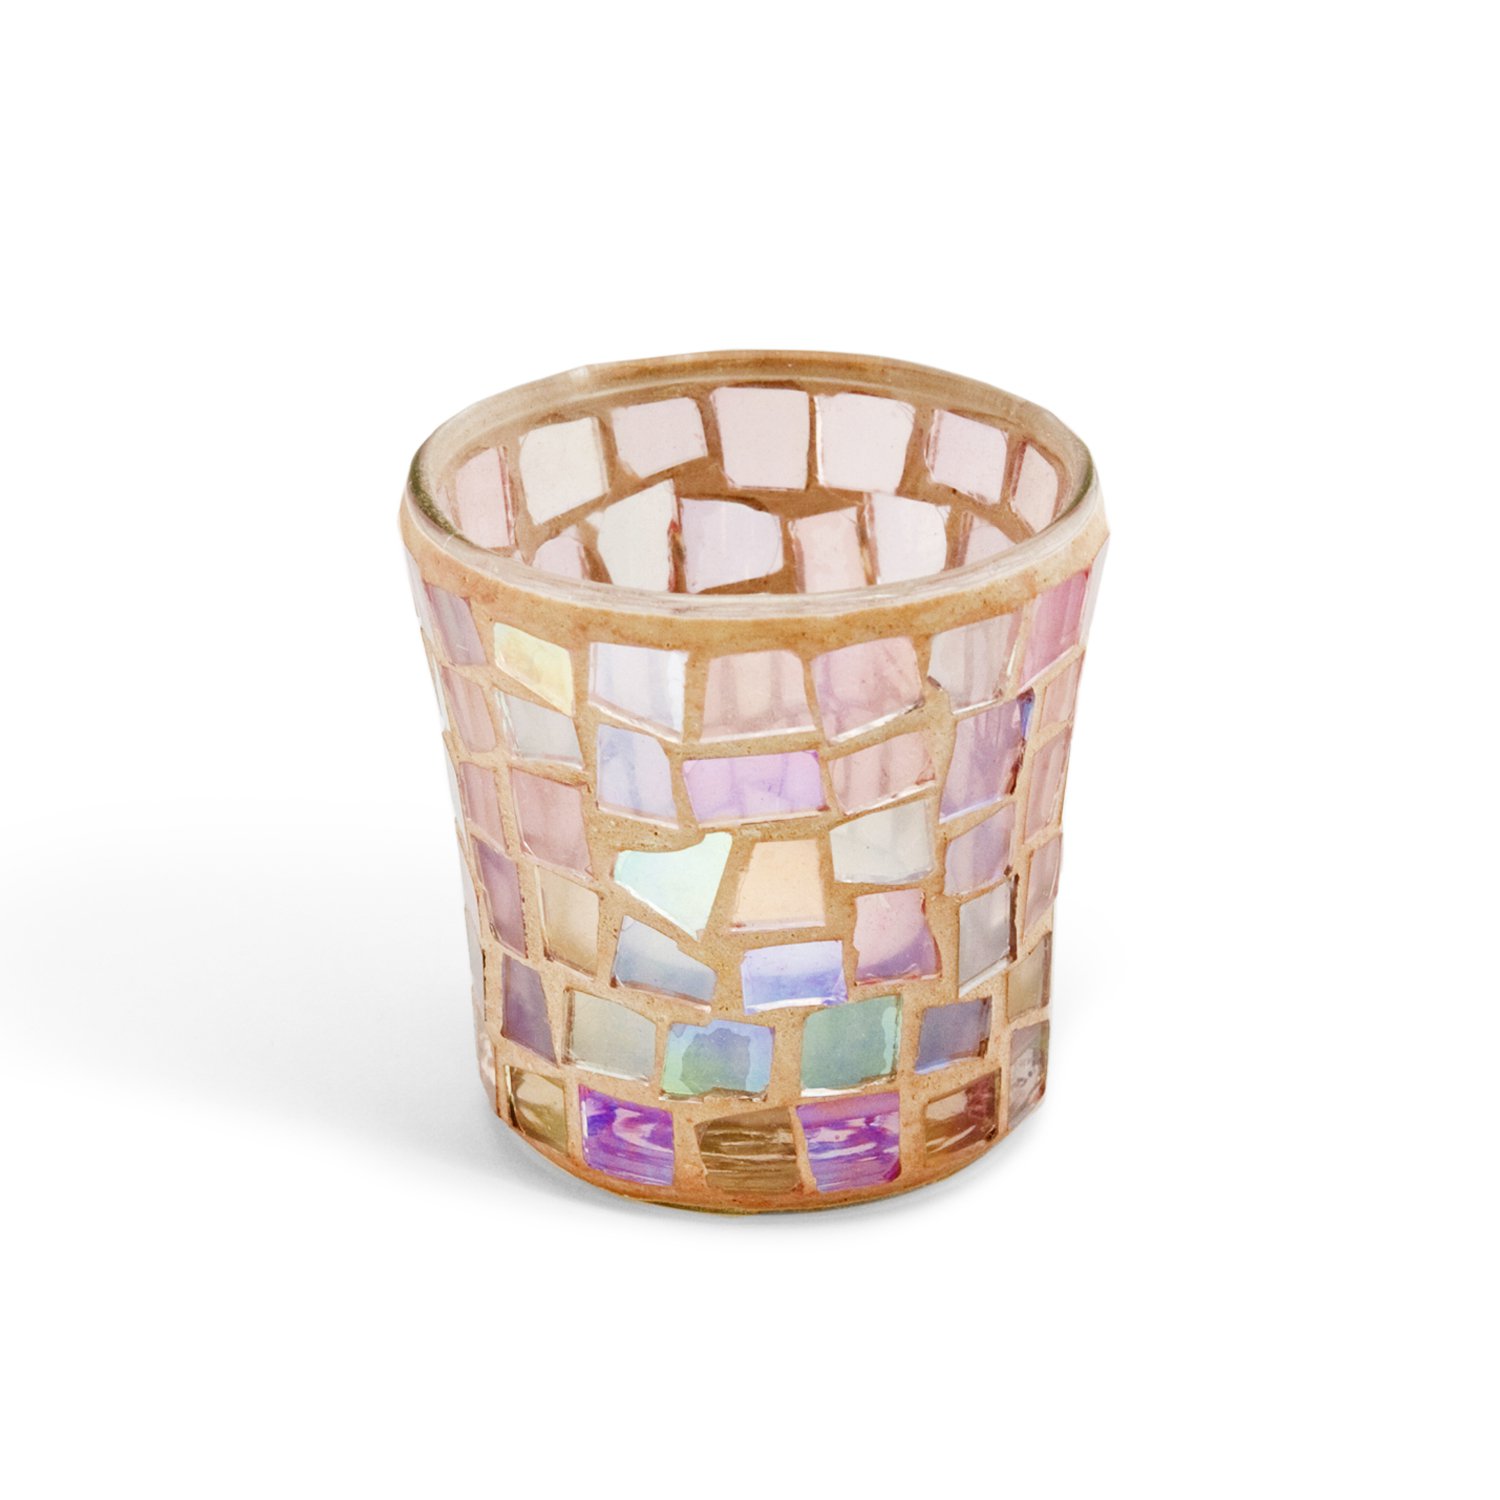
Once you have photographed your product(s) in your new homemade lightbox, you can edit your images yourself to prepare them for the web or send them to us for some professional help and get a result like this.
This simple soft lightbox setup makes product photography impossibly easy, and it’s a great way to ensure consistency between images of different products.


