
Learn to showcase your products with GIF animations in this easy tutorial.
Creating videos can be a tedious and lengthy project, but there are other ways to showcase a product within a moving frame. One way to accomplish this is by creating graphic interchange format (GIF) file in Adobe Photoshop or another similar program. A GIF is a compressed file that combines multiple still images together into a short animation sequence. In product photography, GIFs are great for showcasing your product moving from angle to angle and can greatly enhance your customers’ viewing experiences. Furthermore, publishing GIFs via social media and other promotional platforms can help your product reach even more customers.
Follow the few quick steps below to create your own GIF files and showcase your products in a fresh, new way. Let’s get started!
1. Create a new file folder.
Next, select all of the images that you want to include in your GIF animation and paste them into the GIF folder.
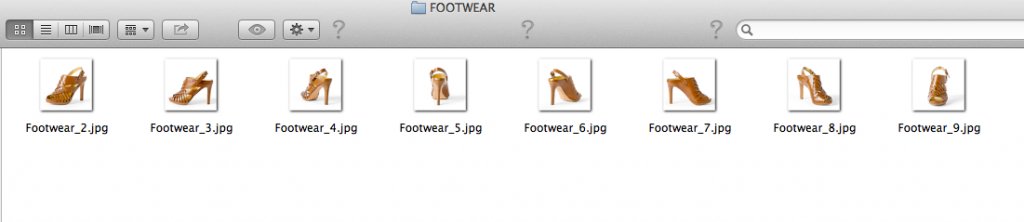
Here we have compiled the eight images that we will use in our GIF file into a folder.
For this tutorial, we will create a GIF using eight product images of a woman’s shoe , so we have added those eight images to the folder. When combined together, the images will provide a 360-degree rotation of the shoe, which is what we recommend for your own GIF images as well. If you’d like to get suggestions about what are the best footwear angles to shoot, read our Ultimate Guide to Maximize your Product Listings in Footwear.
2. Open your files in Photoshop.
To do this, select File > Scripts > Load Files into Stack. A pop up window will appear that allows you to choose the GIF folder that you created in Step One. Click Browse to select and open your images and then click OK. Photoshop will create a new file with all of your images layered on top of each other.

This is the window you will see when opening your files.
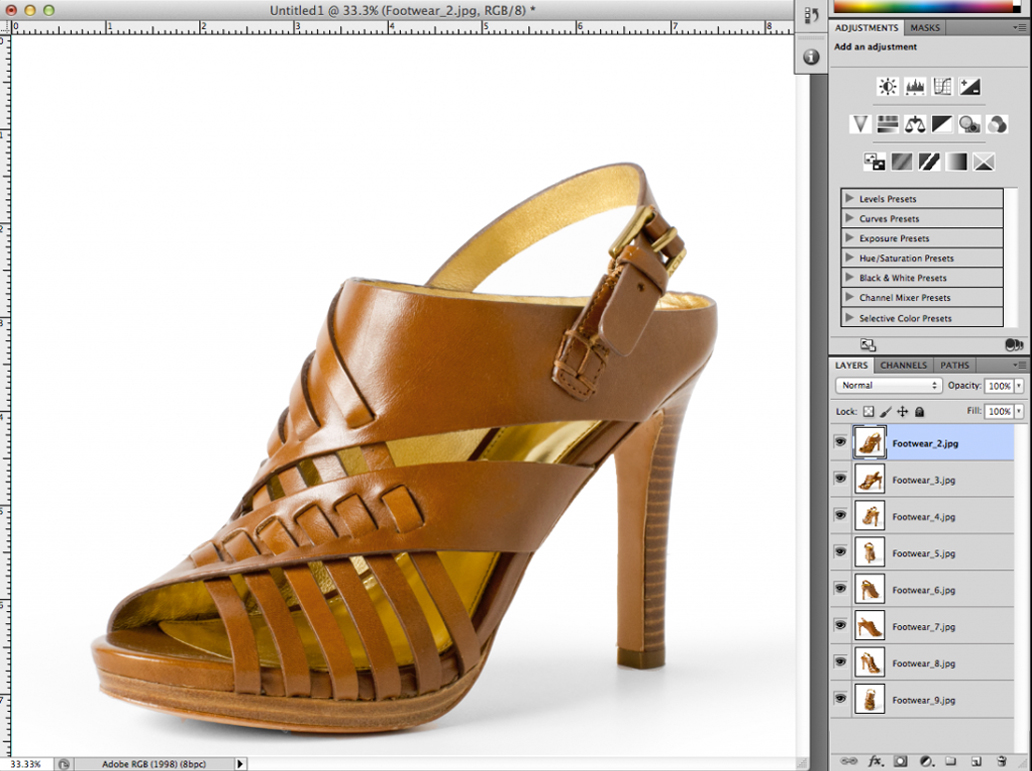
This is what your layered file should look like.
3. Arrange the layer files in Photoshop.
The newly-created layers should be arranged in numerical order according to the file names that you assigned to the files after retouching. However, if your images are out of order, click and drag the layers to rearrange them so that your product turns in a clockwise motion.
While you are examining each of the layers, make sure that your images are all aligned so that when the GIF animation switches from frame to frame, there is no jagged alignment.
4. Create frames in the Animation Palette.
Select Window > Animation (or Window > Timeline depending on your version of Photoshop) to open the Animation Palette and cause the Animation Window to appear at the bottom of your screen.

Here is the Animation Window in Frames Mode. The drop-down menu and frame vs. timeline icon are circled in red.
Click the top right drop-down menu and select Make Frames From Layers. At this point, it would also be prudent to make certain that you are in frame view instead of timeline view by clicking the lower right icon. Depending on the order of the frames that you see and the order that you want the images to appear in your GIF, you may need to Reserve Frames using that top right drop-down menu.
5. Change the duration of each frame.
In the top drop-down menu, click Select All Frames. To set the duration time on all frames, go to the bottom of one of the frames and click the drop-down arrow to select preset time speeds for the frame or choose Other if you would like to customize the frame speed.

The drop down menus to change the duration and length of the animation are circled in red.
Each frame can be changed individually, so if you would prefer for one of the frames to appear longer than the others, set that one for a longer duration. If not, select the same duration for each frame so that your product “turns” seamlessly from frame to frame.
6. Set the number of times that the GIF will play.
Under the first frame on the bottom left of your animation frame palette, you can also set how many times you would like your GIF to “loop,” or play when it is viewed. We recommend selecting continual animation so that your customers can admire your product for as long as they like.
7. Save the GIF.
Now that you have all of your frames set with the order and duration that you want them to appear, you should save your new animation. In order to save a GIF file, you need to save it by selecting File > Save For Web & Devices.
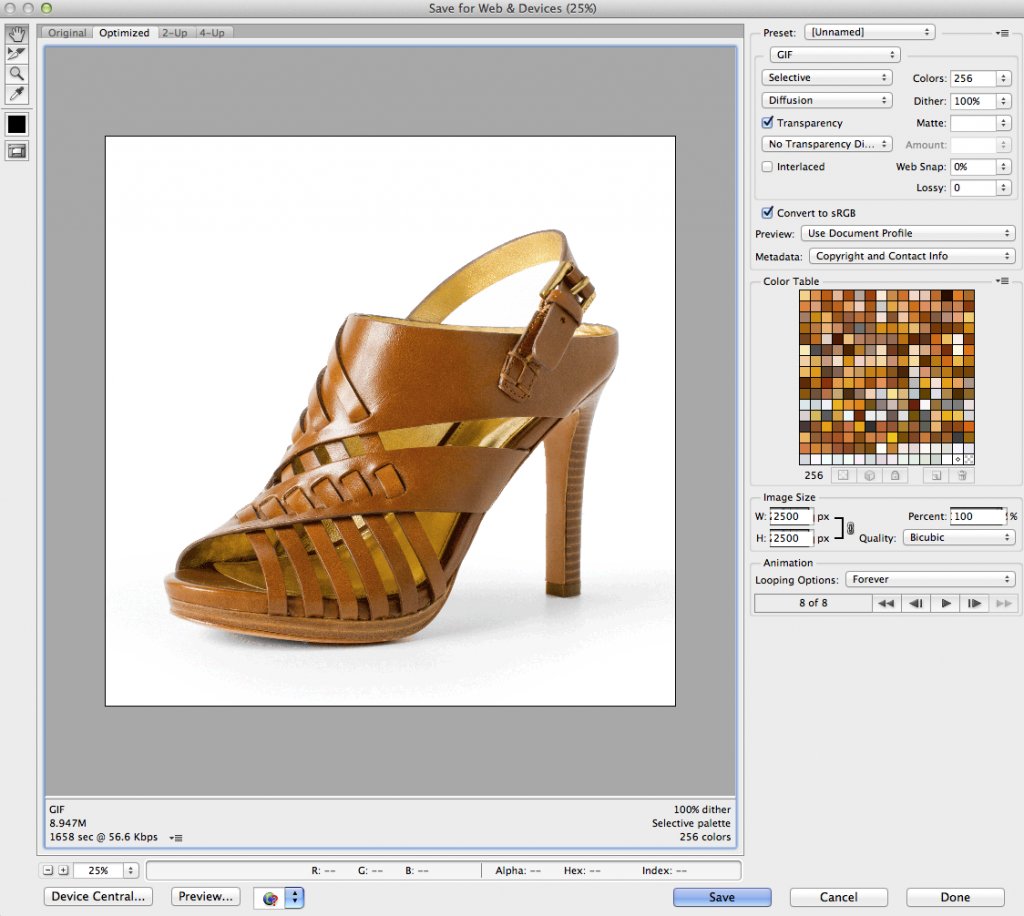
This is the Save for Web & Devices menu. Make sure to check all of the settings!
Make sure that all of the settings in the Save For Web & Devices screen are set to your liking and then click Save to select the GIF folder that you originally created in Step One.
8. Test the GIF.
Now that you have created and saved your GIF file, try it out by dragging your file straight into your internet browser or by right clicking on the image file and selecting Open With > and your internet browser of choice.
Here is our completed GIF image of our women’s shoe. Looking good!
If the animation plays, you’ve done everything correctly. Enjoy your new GIF!


